The job of the choke on small gas-powered engines is to enrich the gas and air mixture that is ignited to power the engine.
Designed as a way to restrict airflow, the choke is usually operated with a small lever and is meant to be used when starting and warming up an engine.
If your weedeater only runs with choke on, you’ve got a problem that needs to be addressed. This is also true for a weedeater that only runs on half choke.
In either case, the air and fuel mixture that your trimmer’s engine relies on is imbalanced when the choke isn’t in use.

Why Does My Weed Eater Only Run on Full Choke? (The Short Answer)
The main reason why a weedeater only runs on full choke is because of issues with the air and fuel supply due to a dirty carburetor, a bad gas cap vent, or a clogged fuel filter.
Being key components of the air and fuel delivery system, any malfunctions they might have can result in the engine relying on the choke to run.
Possible Reasons Your Weed Eater Dies When the Choke is Off
To give a little bit of context to why a weedeater only runs with choke on, you’ll want to know more about each thing that can mess up the supply of fuel and air to your weedeater’s engine.
Here I’ll talk some more about dirty carburetors, problems with fuel lines and fuel filters, and gas cap ventilation issues.
Gummed Up Carburetor
The carburetor is one of the most important and one of the most sensitive parts in a gasoline engine.
Mixing fuel and air before they enter the combustion chamber, the carburetor operates based on a very precise ratio so that the engine runs smoothly.
Inside the carburetor, there are a ton of small jets that shoot out gasoline, and if any of them get blocked up by dirt or debris, the carburetor will fall out of rhythm.
If anything goes wrong in the carburetor, not enough fuel can be delivered and the engine could be starved of its precious gasoline.
Dealing with all of the intricate parts of a carburetor isn’t much fun, but this is probably the most common issue causing a weedeater that only runs on choke.
Gas Cap Vent Blockage
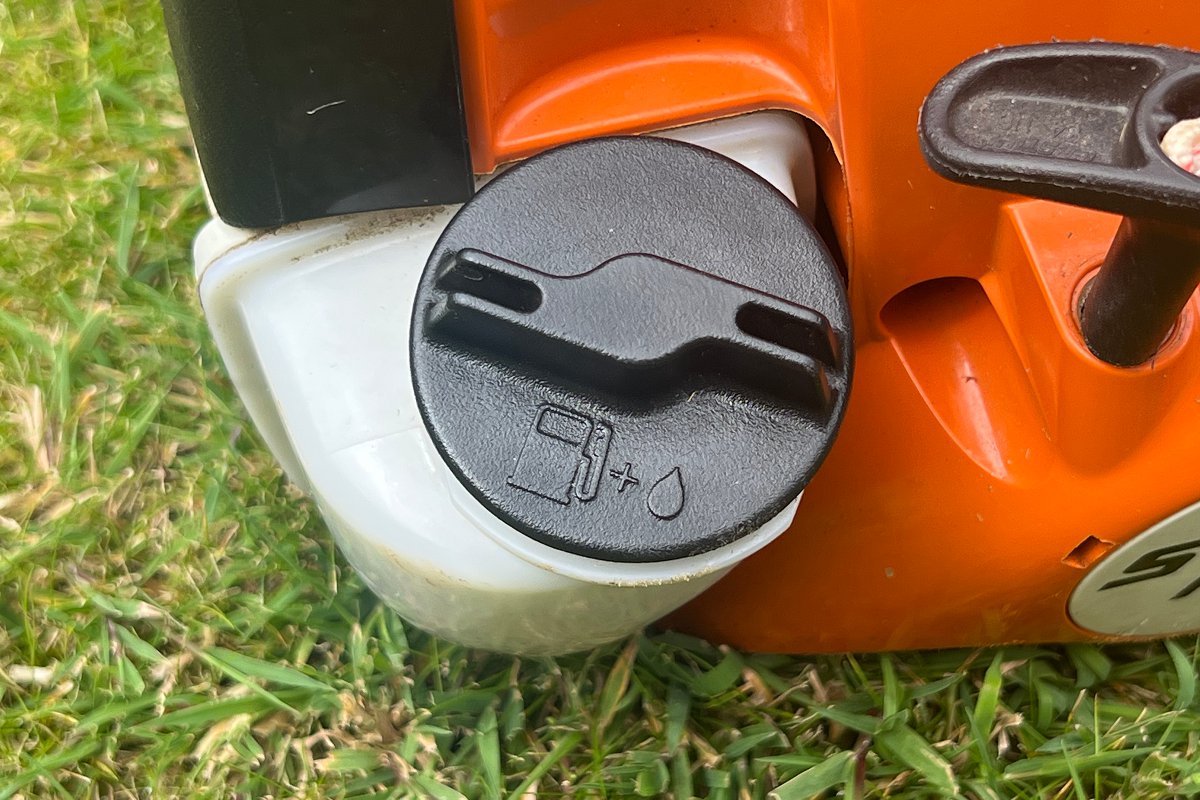
The next most common problem people have is a vent on the gas cap that’s blocked.

You may not think much of the vents that you see on gas caps, but they’re there for a reason. If the gas tank can’t breathe at all there will be a restriction of fuel flow.
Having to use the choke excessively is a sign that this could be your problem. If fuel is reluctant to flow, your trimmer may need to use the choke to create some extra suction.
Fuel Line or Fuel Filter Problems
Though it may seem obvious, a lot of people don’t think to check their fuel lines when they run into problems that affect fuel delivery.
Because they are made of rubber or plastic and exposed to the elements, fuel lines can wear out pretty quickly. This is especially true in regions where it gets very hot or very cold.
Worn out or cracking fuel lines can affect how the engine runs as they might allow too much air to accompany the fuel, or leak gas.
Attached to fuel lines, fuel filters can get jammed up over time as they clean the gas that runs through them.

Eventually, you could run into a fuel filter that has so much debris in it that it limits the amount of gas able to reach the engine.
How to Fix a Weedeater that Only Runs with the Choke On
Now that we’ve covered the main reasons for a weedeater than only runs with choke on, I’ll talk about fixes.
I’ve made these steps pretty general so they can be applied to all gas-powered string trimmers whether you have a Husqvarna, Stihl, Ryobi, or any other brand.
Clean Out or Replace Carburetor
Although this is the most common solution, I probably would do this step last. However, if you’re pretty sure the carburetor is the problem you’ll need to get it opened up.
Usually, there are just a few screws holding the two sides of the carburetor bowl together.
After undoing those, you can grab a can of aerosol carb cleaner and carefully spray out every nook and cranny.
Pay close attention to the jets and float when you’re doing this. You really want to clear out all of the tiny holes in the jets and the components that let the float operate freely.
If you’re new to carburetor work, be sure to keep track of all of the tiny parts and remember how it goes back together.
If your trimmer is pretty old, you should consider getting a carburetor kit or a new seal at the very least.
If you try cleaning it and have no luck, or if your carburetor has a ton of varnished gas that won’t come off, buying a new carburetor is a good option.
Replace Fuel Filter and Fit New Fuel Line
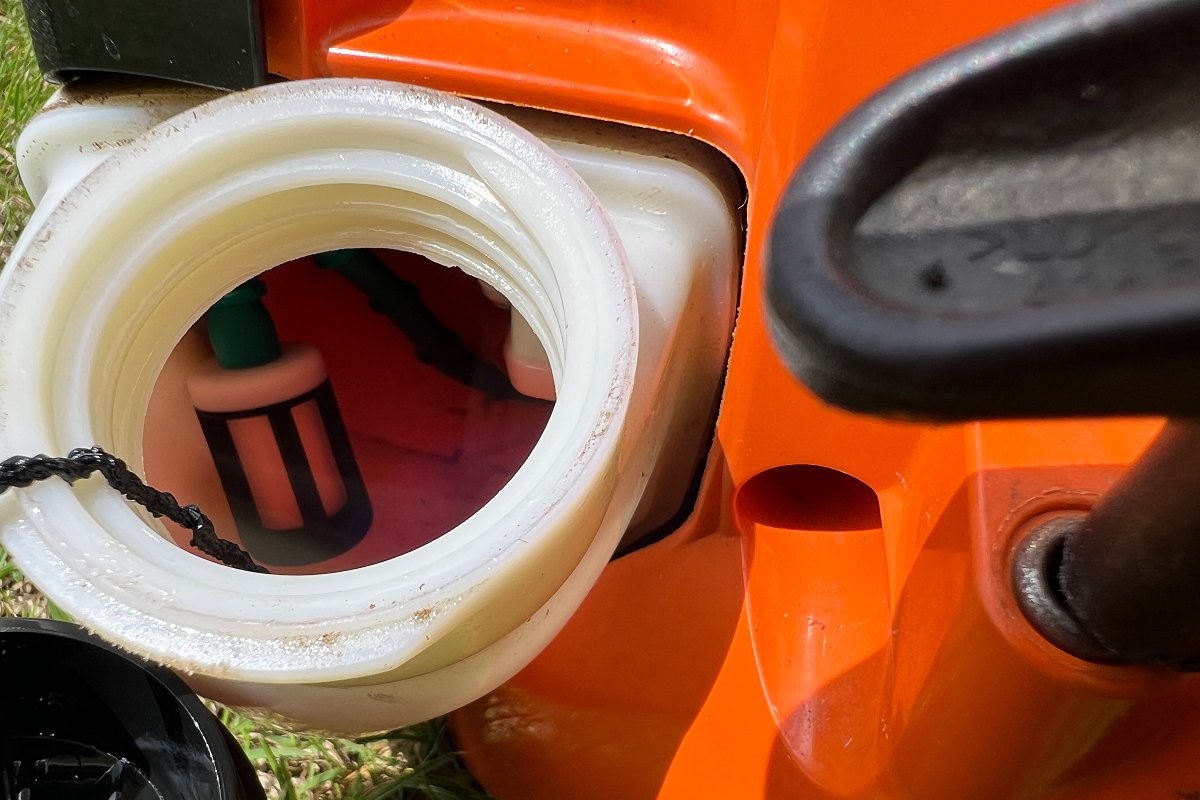
What you’ll want to do before disassembling your entire fuel line is drain all of the gas out of your trimmer. That’s because your fuel line and fuel filter can actually be found inside the tank.
Your trimmer should have two fuel lines, one connected to the primer bulb, and one to the carburetor.
Start by fishing the fuel line and fuel filter out of the gas tank. You could try and clean the filter but your best bet is to replace it.
Since you’re already doing this, it’s a good opportunity to inspect your fuel lines. If you notice that the fuel line is brittle or cracking, you should replace it.
All you need to do is find the right gauge tubing, cut it to length, and fit it on the carburetor, filter, and primer bulb.
If you’re replacing the carburetor, the kit you buy should include all the necessary parts for this process as well.
Clear Gas Cap Vent
To test if the gas cap ventilation is the problem, start the trimmer and then slowly unscrew the gas cap until it is about halfway off.
Once you’ve done this, turn your choke completely off and see how your trimmer’s engine is running. If it makes no difference and the trimmer dies, the gas cap isn’t the issue.
If it helps, you’ll want to clean the gas cap or buy a new one. To clean the gas cap, all you’ve really got to do is use a bit of warm soapy water and do your best to get all of the gunk out of it.
If you have a damaged gas cap or can’t seem to unclog it, a new one is in order.


Thank you for the tips. I will try them out and hopefully be able to fix my trimmer.
Glad you found them useful, Jeff. Do let us know how you get on 🙂
Thanks, I’ve been having a lot of issues with my trimmer. With your tips I have fixed them.
Amazing, thanks. Very easy to follow instructions and my strimmer is purring like a kitten. You have deffo saved me money and time 🥳😘
Very Good Article. Clear Concise. Well Done!
I’m happy it helped you out Phil 🙂
Tom.
Can you spray carb cleaner directly into the carb without removing it? How much can you spray into the carb without damaging it?
Hi Phil,
Yes, you can. If you remove the air filter and have the engine running at idle, you can then spray it into the carburetor’s air intake. When spraying into the carburetor, stop when you hear the engine speed dip.
You don’t want to stall the engine as it can be tricky to start again sometimes. I suggest you use a product like Throttle Body, Carb & Choke Cleaner – WD-40 Specialist, Automotive Range.
You can use quite a lot, but a few quick sprays should be enough. If you are having fuel flow and performance problems, then I’d recommend cleaning the carburetor jet. You’ll need to remove these, as the spray won’t help a blocked jet.
Thanks for your comment.
Tom
I bought a brand new trimmer. It only has one adjustable screw. It starts really good and runs good but I can’t close the choke because it dies. I don’t know how to adjust the screw so that I can close the choke. Some people say to screw it in all the way then screw it out one and a half turns. Still doesn’t work. Please help.
Hi Christo,
Sorry about the late reply. To adjust the single carburetor screw:
Start your trimmer and hold the throttle in so that the trimmer is revving at its highest.
Turn the screw clockwise. You will then hear the revs drop.
Turn the screw counterclockwise until the revs increase again. If you continue to turn the screw counterclockwise, the revs will drop again.
You’ll need to find the middle spot where the engine revs at its highest. The amount you need to turn the screw will depend on your trimmer’s specific carburetor.
Next, take a look for a second screw. If you look for the small plastic part that moves on the outside of the carb when you pull the throttle, you should find another screw. This is the idle adjustment. It’s not going into the carburetor like the first screw. It’s on the outside. So, with the engine started and the throttle off, you can increase the revs at idle. If this screw is set too low, then the engine will stall.
I hope this helps.
Tom.