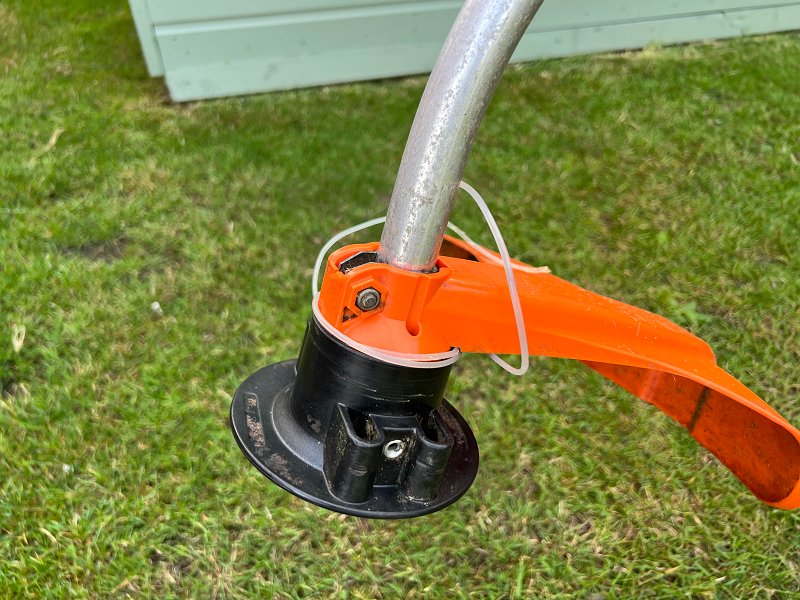
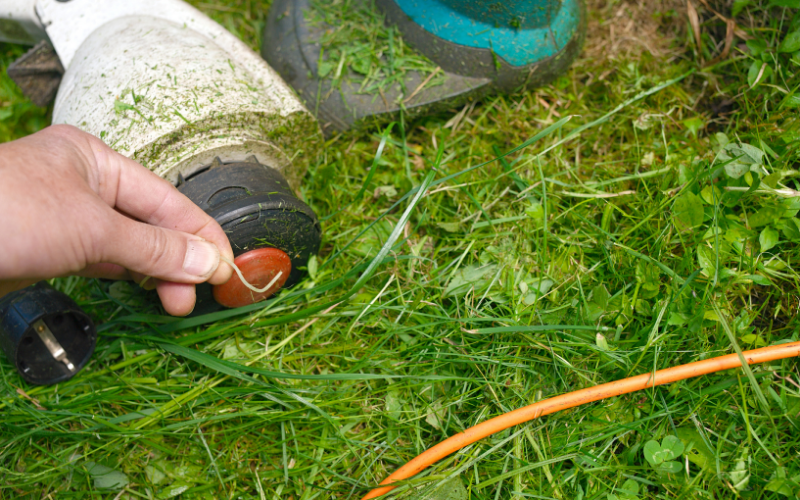
Trimming the edges of the yard after mowing usually goes pretty quickly but can end up being one of the most annoying tasks to do at times. This is especially true when your trimmer isn’t working properly and you have trimmer line getting caught on the tool itself. Since fiddling around with your trimmer line gets old pretty fast, nobody wants to have this recurring problem. Let’s take a look at why trimmer line wraps around the shaft, and what you can do to prevent it.
Why Does My Trimmer Line Wrap Around the Shaft?
When you have trimmer line that wraps around the shaft, you have the problem of too much line being let out at a time. This is almost always due to a few things: loosely wrapped trimmer line, the wrong size trimmer line, and line feeding malfunctions. To give you an idea of why each of these things can cause this issue, I’ll go into more detail below.
Loose or Wrong Sized Line
Improperly loading trimmer line is one of the biggest mistakes that a lot of people make. I used to get so frustrated when loading my trimmer that I would just throw line in as quickly as possible so that I could get back to my trimming. But, eventually, I realized it was improperly loading the line that caused all of my issues with tangles and running out of line early. This bad habit can lead to you finding your weed eater line stuck too.
If line isn’t spooled correctly, it can come loose and either form a bird’s nest in the trimmer head, or eject too far and get wrapped around the shaft. This is even more likely to happen if you’re using the wrong-sized trimmer line. Line that is either thicker or thinner than the manufacturer’s recommendation will not function well. What you’ll end up with is a tangled mess or line that runs out very quickly.
Line Feed Problems
So, assuming you’ve got the right line, and you know it’s spooled correctly, the next most likely reason for trimmer line wrapping around the shaft is problems with the line feed mechanisms. There are all kinds of trimmers out there, but most have an automatic feed or “bump” feed system to eject more line while you’re working.
If you keep wondering, why is trimmer line wrapping around the trimmer shaft? You should be sure to check out the trimmer’s line feeding system, and also see if the sharp edge inside the trimmer’s guard is doing its job and cutting off excess line. Sometimes this small blade will dull or break off the guard over time.
What You Need to Do to Prevent Trimmer Line from Wrapping Around Shaft

In order to stop having trimmer line that wraps around the shaft, there are a couple of steps that you can follow. I would recommend doing them in the order I lay out just so you can be sure to find what the problem is in your case before thinking about fixes.
1. Double Check Line Size and Quality
The very first thing to do in a situation where you have line wrapping around the trimmer’s shaft would be to make sure you’re using good quality line that is compatible with your trimmer. The quality of the line you use in your trimmer is really important because line can get old and brittle after just one season’s worth of time. When line ages, it’s much more prone to break or jam.
If you know you have newer line, just confirm that it is a thickness that your trimmer accepts. The range of line thickness most trimmers use is about 0.065 to 0.095 inches. However, every trimmer is different and your best bet is to look up the specifications for your model.
2. Make Sure Line is Well Wrapped
If your line itself wasn’t the problem, it could very well be the way you put it into the spool on your trimmer. Though we might not want to admit it, human error is responsible for our problems most of the time.
When you start to refill your trimmer line, take your time and make sure you’re wrapping it in the right direction. The little arrow diagrams on trimmers can be really confusing so take a good look at them and follow along.
Once actually wrapping the line, it also really helps to make tight and orderly coils. This will make a big difference in how smoothly the line is ejected. Like spooling a fishing reel, you’ll want to end up with nice, uniform layers.
3. Inspect the Trimmer Head
Still having issues? Now you should probably give the components on your trimmer head a once-over. Start by looking at the guard on the trimmer. Make sure that the line trimming blade is still attached and has an edge to it. If it’s in bad shape you can sharpen or replace the blade.
Next, check the bump cap or auto-feed lever (depending on which one your trimmer has). If you have a bump cap and it doesn’t seem to feed line as it should, the spring or cap itself is likely the issue. Cracks in the bump cap and a sticky spring action are the telltale signs of this issue.
If your trimmer has an auto-line spool, you’ll need to open the head of the trimmer up and inspect it. To access the lever, you’ll need to remove the spool cap and spool. Underneath, you will see the lever which can usually be pried off with a small screwdriver.
4. Replace Parts (If Needed)
Finally, once you have identified the cause of your tangling issues, go ahead and replace the necessary parts. If it’s an issue with the line, be sure that the new line you buy is suited for your trimmer since anything too thick or too thin might continuously feed and cause jams.


Leave a Reply