Loading up trimmer line can be tricky even in the best of times. Sometimes I wish I had a third hand to make things easier and less frustrating.
But having line feeding out uncontrollably when I’m using my trimmer is a whole other level of frustration.
So, what can you do to stop this from happening? Let’s take a look.
Why is Trimmer Line Continuously Fed Out? (The Short Answer)
To activate the auto line feed of a trimmer head, you must bump the spool off the stoppers and allow the spool to spin. To stop the auto-feeding, an internal spring repositions the spool to rest against the stoppers.
If the stoppers or spring is damaged or missing, the head can feed out the line uncontrollably.
Additionally, incorrect installation of the line will cause it to feed continuously.
Trimmer Line Keeps Feeding Out (3 Possible Reasons Why)
I’ve discovered that the trimmer line keeps feeding out because of 2 main reasons. These seem to be a problem faced by owners of all types of trimmers, including Stihl and Black & Decker models.
Here’s what I found out.
A Problem with the Spring
By far, the most common cause of a trimmer line that keeps feeding out comes down to the spring. Usually, it’s completely missing, and the spool doesn’t return to the lock position. Now, this can happen for several reasons, but normally, it falls out when you change the trimmer line.
Another cause is when you replace the spool with a new one. You would think that a replacement spool would come with the spring attached, but no, that’s extra and has to be purchased separately.
So, without naming any names (Stihl), you need to remember to remove the spring from the old spool before you throw it away.
Other manufacturers seem to put their springs in the top of the head so that when you remove the cap, the spring falls/flies out. Raise your hand, Black & Decker owners.
So, let’s talk about Worx Trimmers for a moment. Worx came up with the idea to do away with the spring and replace it with a flexible piece of plastic that bends as you install the spool. Great idea, but unfortunately, it loses its strength over time, and you have to replace the head.
Remove the cap and spool and check if you still have the spring or if the flexible plastic spring alternative is still installed and working. If not, it’s repair time!
Damage Inside the Head
Trimmer heads are made of a pretty tough plastic that can take a lot of punishment caused by constant bumping.
Now, I’ll be the first to admit that I can get carried away with the bumping, especially when I run out of line. I’m always waiting for that magical heavy bump that will get more line to come out.
Unfortunately, you guessed it, it never works. This kind of activity eventually leads to internal damage.
So, pop off the cap and remove the spool, then look to see if the stops are still in one piece.
Line Not Installed Correctly
If you are new to string trimmers, then you may not have been shown how to install new lines correctly. If you don’t connect the lines to the spool properly, they will just pull straight out when you install the spool and cap.
If you can pull the line from the trimmer without the spool turning then, unfortunately, the line hasn’t been installed correctly.
If your trimmer line is breaking, rather than just uncontrollably feeding out, you may be interested in my blog on Why Trimmer Line Keeps Breaking.
Fixing a Trimmer that Continuously Feeds Out Line
If your trimmer line keeps feeding out, then I’m pretty confident it’s because of one of the three reasons listed above.
So, grab your line trimmer, and let’s see how you can stop the line from feeding out.
Sorting Out the Spring
If you still have your spring, then you’ll want to check whether it attaches to either the cap or the inside of the spool. Usually, a couple of very small clips keep the spring in place and stop it from going walkies.
For example, Black & Decker trimmers have these two little clips on the cap that the spring sits between, whereas on a Stihl, the spring is clipped inside the spool.
Now, if the retaining clips are broken, and you can’t seat the spring, you’ll probably find the spring will still sit in place and work.
However, the next time you remove the spool or cap, the spring is probably going to fall out. This isn’t a problem if you notice when the spring pops off, but a hassle if you don’t spot it and wind up losing it.
I recommend swapping out the cap/spool, so you’re not always looking for the spring. When it comes to the Worx style spring, unfortunately, if it’s lost its flex or is broken, you’ll have to grab your tools and install a replacement head.
Replacing the Trimmer Head
String trimmer heads come in all shapes and sizes. Therefore, there are several ways to remove them and install new ones.
Here are a few methods.
Screw-On Trimmer Heads
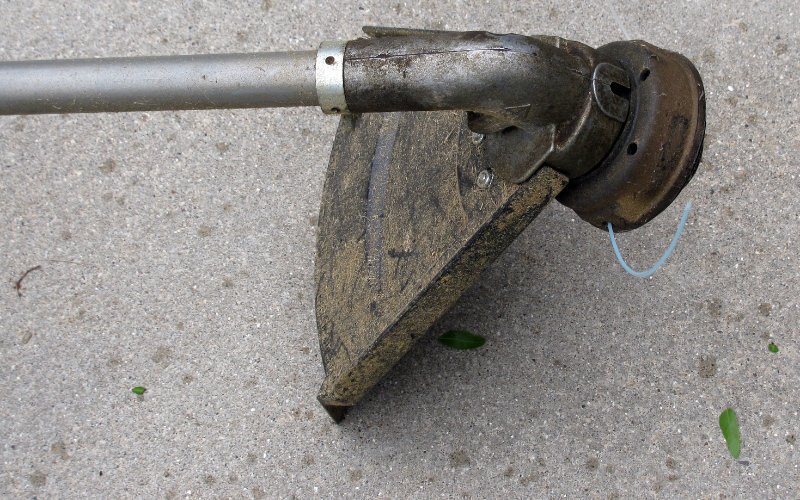
Screw-on heads are common on both Stihl and Ryobi string trimmers and require pretty much the same method to remove and install new/old heads.
You need to align the hole/slot on the shaft with the head, then install a screwdriver to lock them into position.
Next, unscrew the old head and replace it with the new one. Usually, heads have a reversed thread and undo clockwise.
Basically, the head loosens up in the opposite direction it spins in during operation, so it doesn’t fall off when using the trimmer.
Bolt-On Trimmer Heads
Some trimmers, like a few Echo models, have a bolt in a recess on the underside of the head and a small hole in the shaft.
So, locate the small hole in the shaft and slowly turn the head by hand. You want to be looking for a second hole inside the first hole.
Once you get both holes lined up, you can install a small screwdriver and lock the head so it can’t spin. Then take a wrench and remove the bottom nut.
Next, remove the old head and install the replacement. Once you have the bolt tight, you can go ahead and remove the screwdriver.
Installing the Trimmer Line
I used to wish I had a third hand when installing the trimmer line, but now I’ve learned a little trick that makes it much easier.
To start, pass your length of line either through the eyelet in the spool or into the small holes, like the ones found on Stihl line trimmers. Then, wrap the line around the spool, making sure that it’s wrapped in the right direction.
Next, clip the line into the little line clamps on the spool. You should now have a tightly wrapped spool made from one piece of line with just a loop of line hanging out of the spool.
Finally, cut the line in the center, install the spool into the head, and thread the lines through the two eyelets.
If you wait until the line is wrapped before you cut it into two, you’ll find it much easier to handle and will be able to cut the lines to equal lengths.

Leave a Reply