Finally, winter has faded away, and it’s time to drag the mower out again. Now, this can be a game of roulette; will it start or won’t it?
It is going to depend on if you winterized your lawn mower or not. If at the end of the last mowing season, you pushed the mower into the corner of the garage with very little thought, then you could be spending a few hours trying to get life back into the mower after its hibernation.
So, what do you need to do to get your mower firing again? Let’s take a look.

The Main Reasons Why People Struggle to Start Their Mower After Winter
Winterizing a lawn mower involves a complete service and a few preventative steps to help protect it over the winter while it sits idle.
So, if you forgot to winterize your mower, you’ll have to carry out some servicing and hope that no permanent damage has been caused.
Here are the items you’re going to need to address.
- Service the Battery
- Remove Degraded Gasoline
- Change the Engine Oil
- Carburetor Cleaning
- Replace the Fuel Filter
- Replace the Air Filter
- Replace the Spark Plug
- Clean the Lawn Mower
How to Start a Lawn Mower After Winter (Step By Step)
If your lawn mower won’t start after sitting over winter, then you’ll need to grab your tools and some parts.
Once you have everything you need, you can bring your lawn mower into your work area, or even better, up on a lawn mower lift if you have one (here’s how to make a lawn mower lift table).
Service the Battery
If you happened to have left your battery connected over the winter, then it is more than likely dead. Additionally, if it was connected and left open to the air, you could have some terminal corrosion.
Grabbing a charger and attaching it to your battery isn’t a good idea with corrosion present as you can easily send too much current to the battery and destroy it. So, you’ll need to remove the battery and service it.
Here’s what you’ll need to do.
- Remove the Battery
- Inspect the Battery
- Clean the Terminals & Connector
- Charge the Battery
- Test the Volts & Amps
- Reinstall or Replace the Battery
Remove Degraded Gasoline
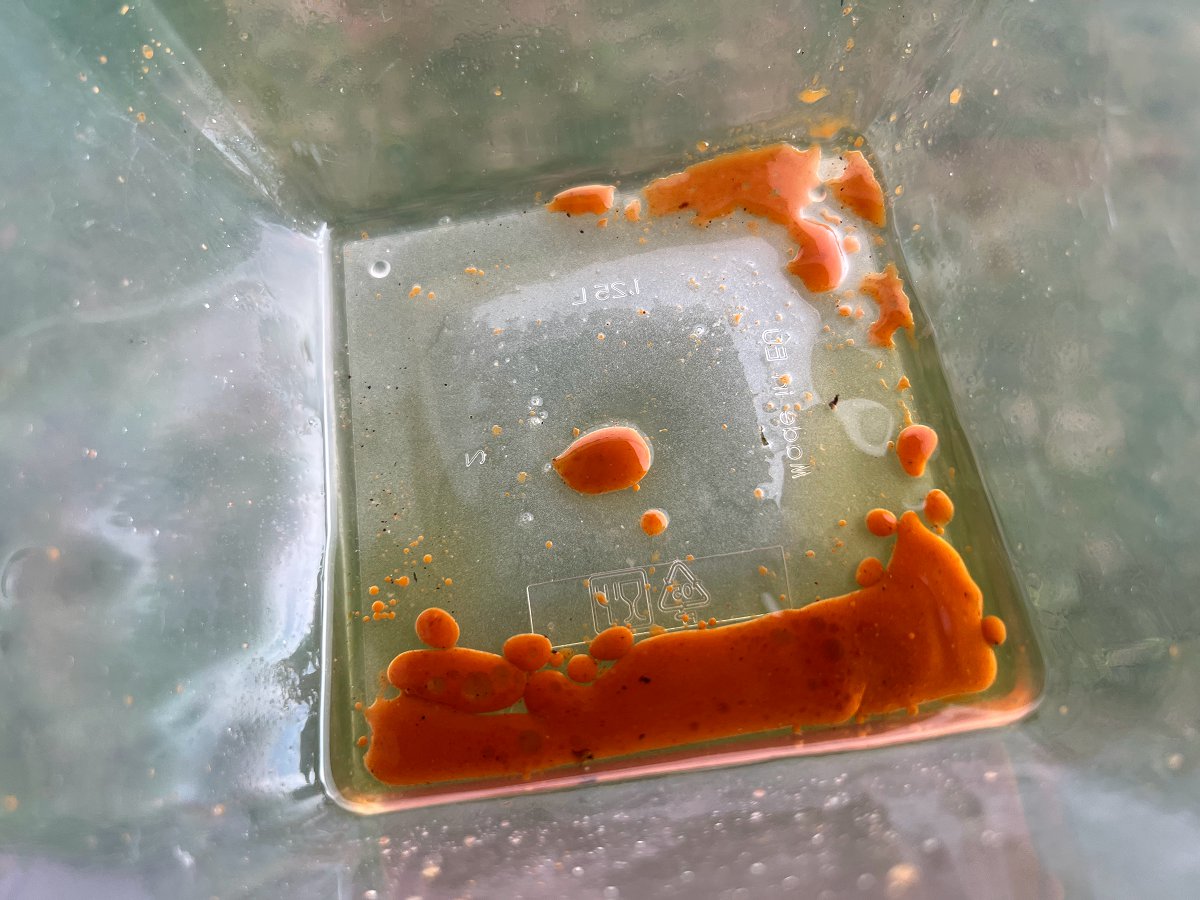
Leaving bad gasoline in a lawn mower over winter is one of the most common reasons a mower has difficulty starting up for the first time.
Untreated gasoline will “go bad” or degrade if left for 30 days or more. Bad gas becomes less combustible and forms a fuel gum.

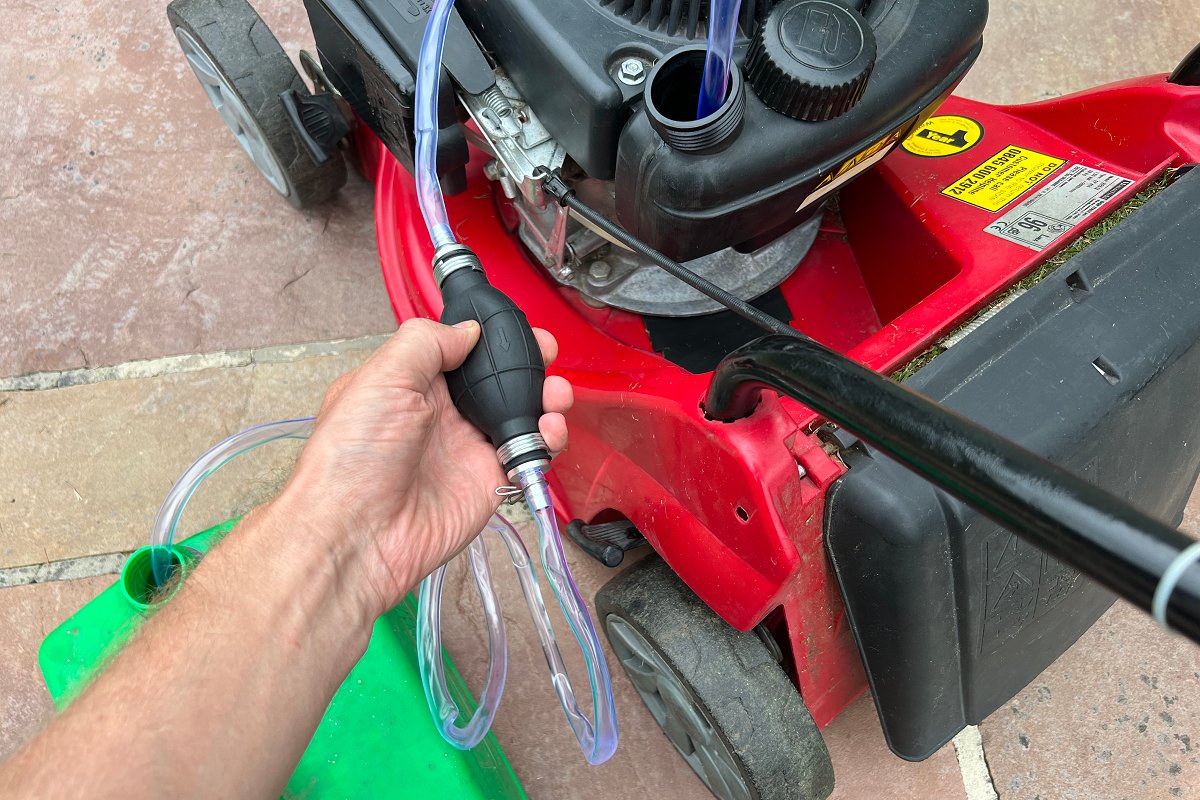
If untreated gasoline was left in your mower over the winter, then you’ll need to remove it and get some fresh gasoline.
Here are the steps you’ll need to follow to remove the bad gas.
- Siphon/Pump Old Gasoline from the Fuel Tank
- Disconnect the Fuel Line from the Carburetor
- Remove Fuel from the Fuel System (other than the fuel tank)
- Reassemble Fuel System
- Fill with Fresh Fuel

Change the Engine Oil
Leaving new engine oil in a lawn mower over the winter isn’t a problem, however old, used oil can be.
Imagine all the dirt and muck in old dirt oil. When oil is left for a long period, this muck settles in the bottom of the engine’s sump and forms a sludge.
This sludge can be hard to get rid of, and it will possibly pollute your next few oil changes.

Even if you winterized your lawn mower correctly before putting it away, you still need to change the oil at the start of the season.
There is always a certain amount of dirt in the sump polluting the oil, so even good oil will go bad after long periods.
Here’s what you’ll need to do to remove the old oil and sludge.
- Remove the Sump Plug & Drain the Oil
- Install the Sump Plug & Fill with New Oil
- Run the Lawn Mower Until Hot
- Allow Mower to Cool
- Check Oil for Cleanliness
- Repeat Oil Change
Carburetor Cleaning
If you did happen to leave gasoline in the mower over winter and didn’t treat it, then the carburetor is going to need to be thoroughly cleaned.
The gum from the degraded gasoline can really clog up a carburetor and render it useless.
In addition, the float can become stuck in place, and the jets can be completely clogged.

So, you will have to grab your tools and cleaning equipment and follow these steps.
- Remove the Air Filter & Housing
- Remove the Throttle Linkage from the Carburetor
- Remove the Fuel Line
- Remove the Carburetor Fuel Cup
- Remove & Clean the Fuel Float
- Remove & Clean Fuel Jets
- Clean the Carburetor Inside & Out
- Inspect Carburetor for Damage & Corrosion
- Reinstall the Carburetor & Associated Parts or Replace
Replace the Fuel Filter
If your mower has an old fuel filter, it must be replaced. A dirty filter can easily reduce fuel flow to the engine and cause problems when trying to start the engine.
If the mower had untreated gasoline left in it over winter, it will probably be gummed up and clogged.

Here’s what you’ll need to do to replace it.
- Switch OFF Fuel
- Remove Spring Clips from Fuel Lines Holding on the Fuel Filter
- Remove the Old Fuel Filter
- Install the New Fuel Filter
- Install the Spring Clips
- Switch ON Fuel
Replace the Air Filter
The air filter serves two purposes. The first is to make sure the air going into the engine is clean. The second is to regulate the volume of air going into the engine.
If you have a problem with starting the engine at the start of the season, it could be due to the air filter being clogged and affecting the air getting to the engine.
Depending on the type of filter your lawn mower uses, it could have also dried out.

So, if you didn’t already replace the air filter before putting your mower away for winter, you’ll need to do so now.
Here are the steps to replace the air filter.
- Remove the Air filter Cover
- Clean the Air Filter Housing
- Install New Pre-Air Filter
- Install New Air Filter
- Reinstall the Air Filter Cover
Replace the Spark Plug & Checking the Ignition Cable
Spark plugs are delicate at the best of times, so leaving an old one in your mower over the winter isn’t a good idea.
Air that makes its way through the air filter and carburetor and then into the cylinder head will definitely corrode the spark plug to some level.
Since the gap in the spark plug between the center electrode and the ground electrode is so precise, even the tiniest amount of corrosion can affect a spark plug.

The best solution here is to replace the plug straight away. Here’s what you can do.
- Remove the Ignition Cable
- Remove the Old Spark Plug
- Install the New Spark Plug
- Reattach the Ignition Cable
When you’re changing the spark plug, it’s always a good idea to check the ignition cable that attaches to the spark plug. These can become corroded over the winter and can affect the way the spark plug sparks.

So, a few minutes of attention can really help. Here’s what you should do.
- Inspect Inside Ignition Cable
- Spray with WD-40
- File/Sand Connection Surface
- Reattach the Ignition Cable to the Spark Plug
Clean the Lawn Mower
You may not think that a dirty mower can cause a problem, but if there happens to be anything left in the mower cutting deck from the end of last season, it could be causing a blockage.
A blockage in the mower deck could prevent the blade from spinning and stop the engine from turning over.

So if you’re having issues starting your lawn mower after winter, it may not necessarily be a problem with the engine.
Here’s what you can do to clear any potential blockages preventing your lawn mower from starting.
- Raise the Cutting Deck/Tilt Over the Lawn Mower
- Remove the Spark Plug/Ignition Cable
- Scrape Out the Old Lawn Debris from the Cutting Deck
- Check the Blades can Spin Freely
How to Start a Battery/Cordless Mower After Winter
Electric mowers are very different from gasoline mowers in that the power to the blade is provided by an electrical motor from either a battery or cord.
However, this doesn’t mean they are immune from problems caused by not winterizing your lawn mower correctly.
Here are the things to check when starting your battery/corded lawn mower at the start of the season if your lawn mower won’t start after sitting over winter.
Charging the Batteries
For you guys with battery-powered mowers, the first thing you will want to ensure is that the batteries are fully charged.
Even if the batteries were fully charged when you put the lawn mower away, they could still discharge if they are left in the lawn mower for a long time.
The best solution is to pop them in the charger and allow them to fully charge again.
Checking the Cable/Cord
Hopefully, your cord was stored away safely over winter. However, it’s not uncommon for a left-out cord to become damaged over the long winter months.
Check for any damage that could have occurred and make sure there are no obvious problems.
If you are experienced with multimeters, then you can test the cable for any defects.
Checking the Terminals
Both battery and corded mowers (ones with a detachable cord) have points where the electrical connection is made. These are called terminals.
Leaving an electric mower out over winter could result in some corrosion and a bad connection at the terminal.
Take a look at where the connection is made and see if you have any problems. You may need to get a small file or a piece of sandpaper to remove the corrosion.
Checking the Motor Spins
Rust is a definite enemy of electrical motors. If your mower was left out, then it’s possible the motor has seized due to rust and corrosion.
Try to give the motor a spin by turning the blade. Just make sure it’s not connected, and no batteries are installed.
There should be little to no resistance when you spin the blade. If you feel a problem, do not use the mower. The motor needs to be replaced first.
Trying to run your mower with a faulty motor can cause it to easily burn out and cause a fire.
Checking the Brushes
The only resistance you should feel from an electrical motor is the pull of the magnets or the brushes. The brushes transfer the electrical current into the motor and can go bad.
First, the brushes wear down as the lawn mower is being used and pop out as a safety feature on some electric mowers. But they can seize with corrosion if the lawn mower wasn’t winterized correctly and the damp air gets to them.
If you pop off the cover of the mower, you will expose the top of the motor and the brushes. This is where you can inspect the brushes and pop them back in or replace them.
Checking the Connection
The final item to check if you are having difficulty starting your lawn mower after winter is the electrical connections to the motor.
Inside the mower, you’ll find connections from the power source, the cord, or the batteries to the motor.
These connections, like the brushes, are prone to corrosion over the winter and can prevent power from getting to the motor.
Again, you can pop off the cover and check the connections. A little bit of sandpaper or a metal file should clean up the terminal nicely and restore the connection.
Electrical Works
Now, I’m certainly no electrician or expert when it comes to electric lawn mowers, but I do understand the problems caused by not winterizing your lawn mower.
So if you are like me, not an expert electrician, I’d recommend having a trained professional repair your electric mower.


Leave a Reply