A stuck pull cord is a problem we all will face from time to time. You’re all set; the mower’s out of the shed, the tank is full, and the blade is sharp. But you pull the starter cord and nothing.
It isn’t that your lawn mower pull cord is hard to pull – it’s totally stuck!
Trust me; I’ve been there. So let me share the most common reasons why a pull cord gets stuck and what you can do to get back to cutting within the hour.
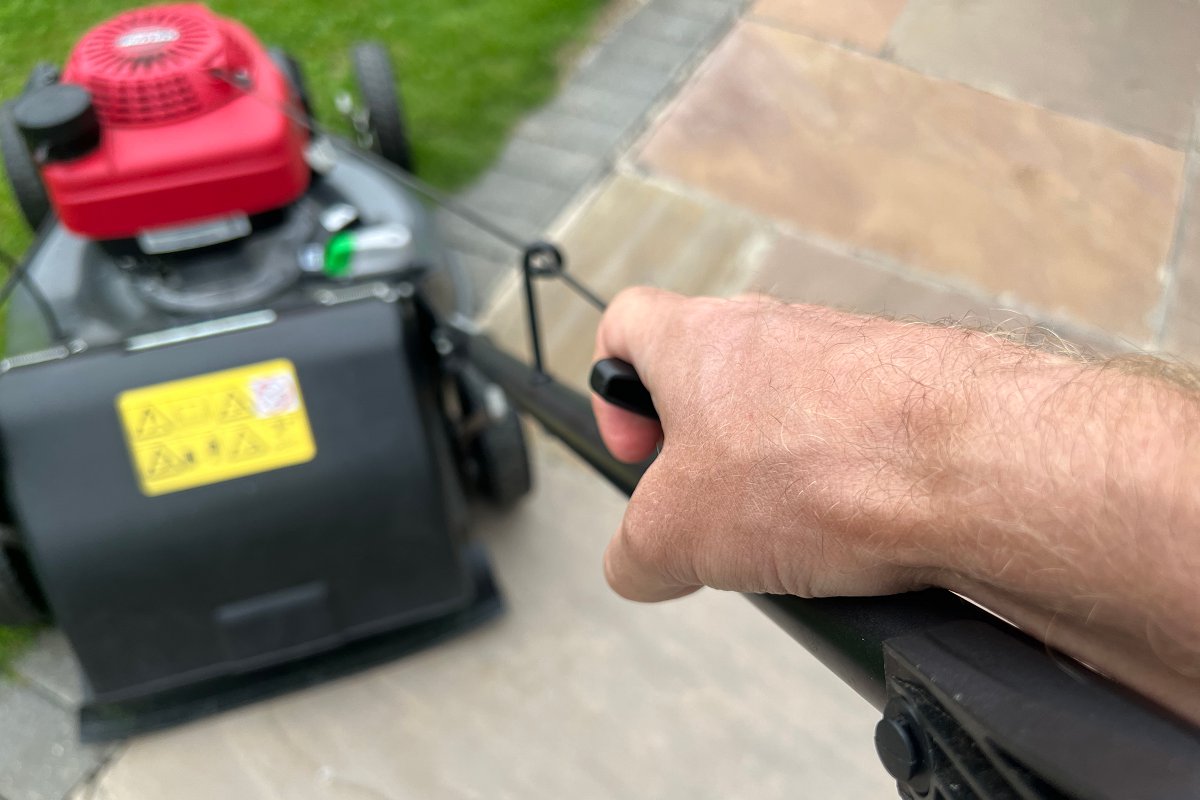
Why Won’t My Lawn Mower Cord Pull? (The Short Answer)
There are several causes why your pull cord could be stuck. A jam in the deck area, seizing in the engine, or a problem with the recoil starter.
A Closer Look at Why Your Lawn Mower Won’t Pull
You will notice that these problems are not centered in one area. So knowing where to start is going to save you from wasting time trying to fix something that may not be broken.
Let’s look at the problems and how to address them.
Diagnosing a Jam in the Deck
First, you want to check for any obstructions in the lawn mower deck and for anything that could be damaged or misplaced.
Start by removing the spark plug from the lawn mower and tuck it out of the way.
Even though the mower won’t start, there could still be a charge in the spark plug that could fire up the engine. So, it’s best to be safe.
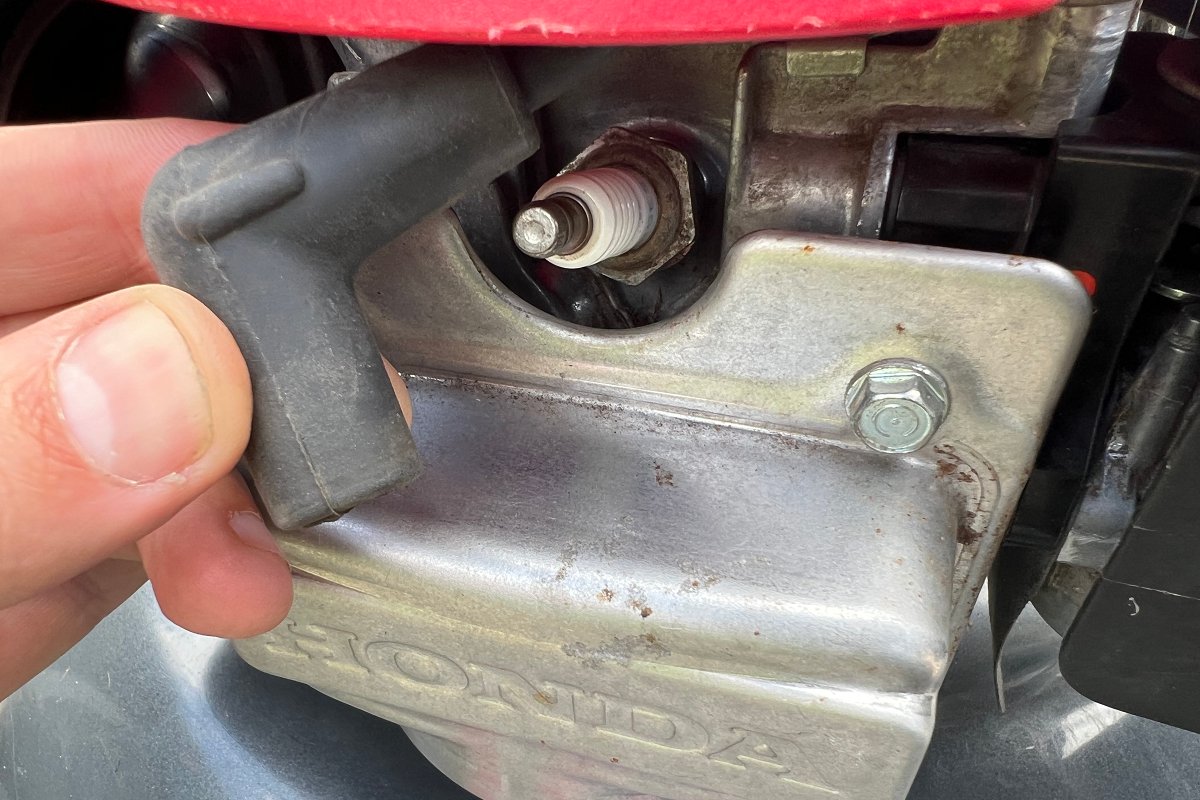
With the plug disconnected, tilt over the lawn mower so you can inspect the deck. Just remember to tilt the lawn mower over the correct way.
Debris in the Lawnmower Deck
It’s as simple as it sounds. Something might be stuck in the deck, meaning the lawn mower blade won’t turn.
If your blade is bolted onto the crankshaft and the blade is wedged, then the pull rope will not pull. A stick, rock, or garden hose could be the cause.
The Debris Shield is in the Wrong Place
If you ever pull your lawn mower backward, the debris shield that stops the grass from flying all over may be facing the wrong way.
First, check to see if the shield is on the inside and coming into contact with the blade. If it is, the crankshaft will be stuck, as will the pull cord.
A Bent Blade
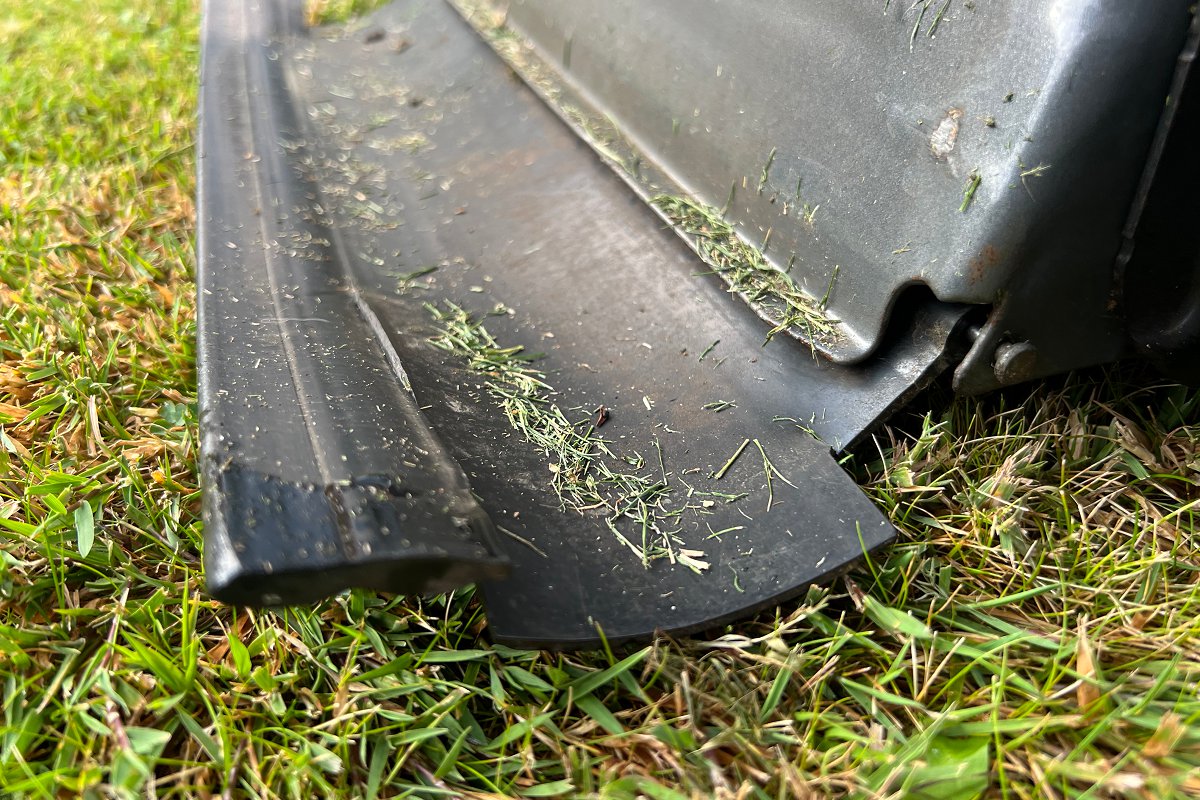
The blade could be your problem if there are no foreign objects in the deck or a misplaced shield.
First, check that the blade is in good condition and not hitting the deck. A bent mower blade that is hitting the deck will need to be replaced to get the starter to work.
A Broken Shroud
Many lawn mowers have a metal shroud in the deck that helps guide the grass to the chute. These are usually made of a very thin metal that can easily damage or rust.
Look to see if your shroud is hitting the blade and preventing the blade from spinning. If it is, then you’ll need to reach for your tools.
Diagnosing a Seize in the Engine
An engine can seize in three ways, resulting in your lawn mower pull cord being stuck. The first is lack of oil, the second is oil on top of the piston, and the third is fuel vapors.
So to diagnose a seized lawn mower engine, you need to test it. You have already established that the engine might be seized because the pull cord is jammed, and the top of the crankshaft will not spin. As a result, you’ll want to test the other end of the crankshaft.
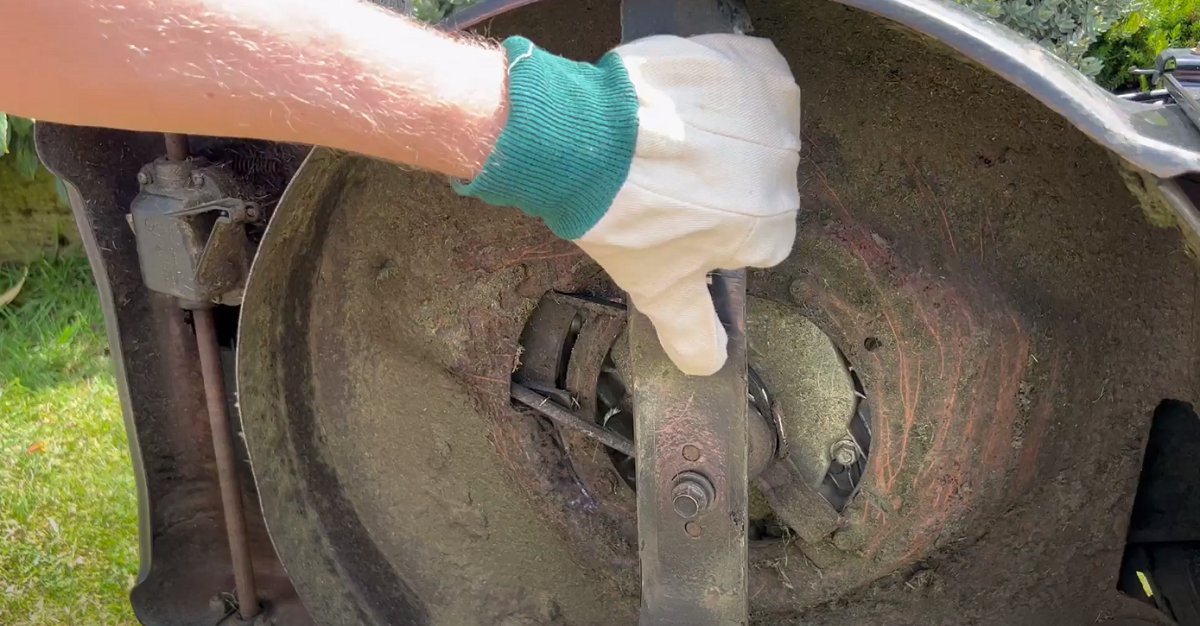
Start by tilting your lawn mower correctly and prop it up securely. Then, with a pair of gloves, take hold of the blade and try to rotate it by hand. You likely have a seized engine if it’s stuck or extremely difficult to turn.
Checking if the Engine is Seized Due to Lack of Oil
Simply checking the oil level on the dipstick will indicate if your mower has low oil. For example, lawn mowers can sit with low oil and become seized; this isn’t a huge problem.
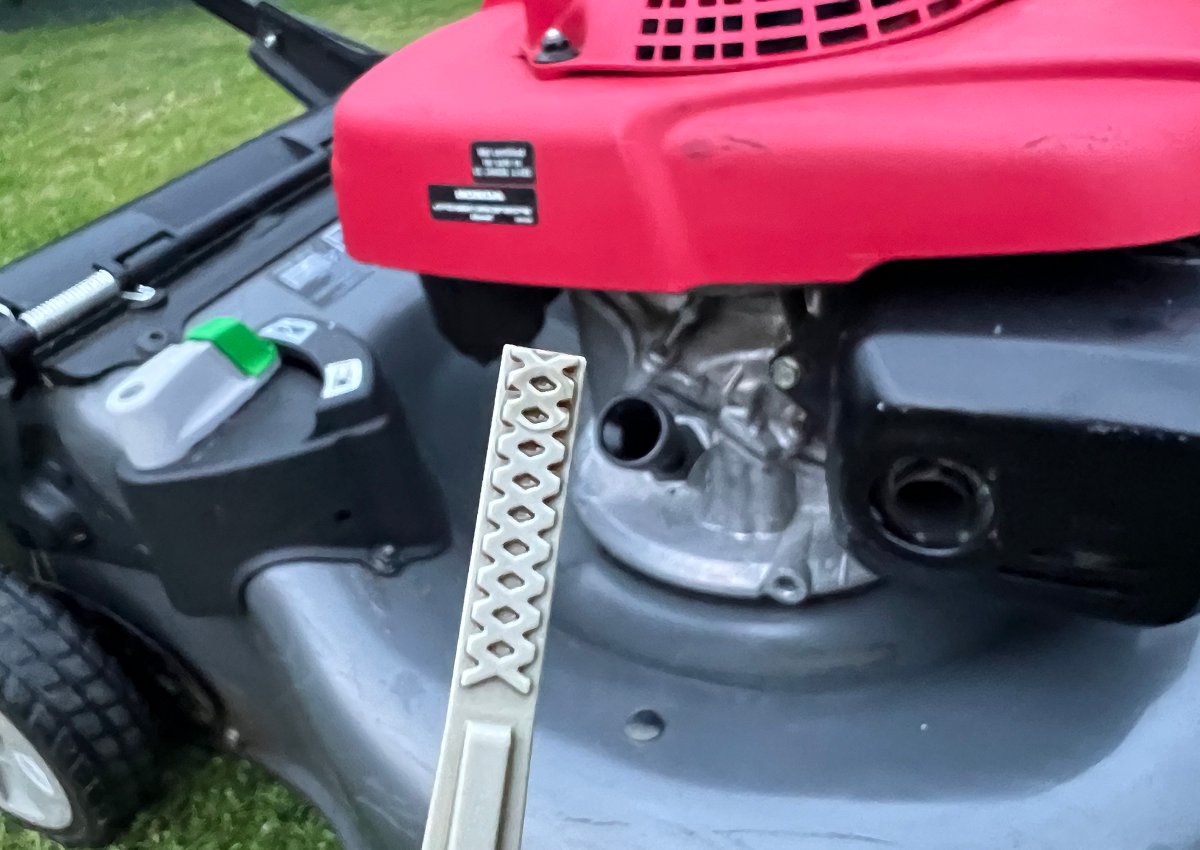
However, if you ran your mower on low oil and it seized in the process, the seizure could have caused extensive damage.
So, pull out the dipstick and check your oil level.
How to Check Hydro-Locking
Hydro-locking is where oil has moved from the bottom of the crankcase to the top of the piston. This is usually caused by tipping over the lawn mower incorrectly and accidentally pouring oil into the piston.
Additionally, using too much oil will result in the piston forcing oil into the cylinder head.
Either way, the engine’s pressure stops the piston from moving and the crankshaft from rotating.
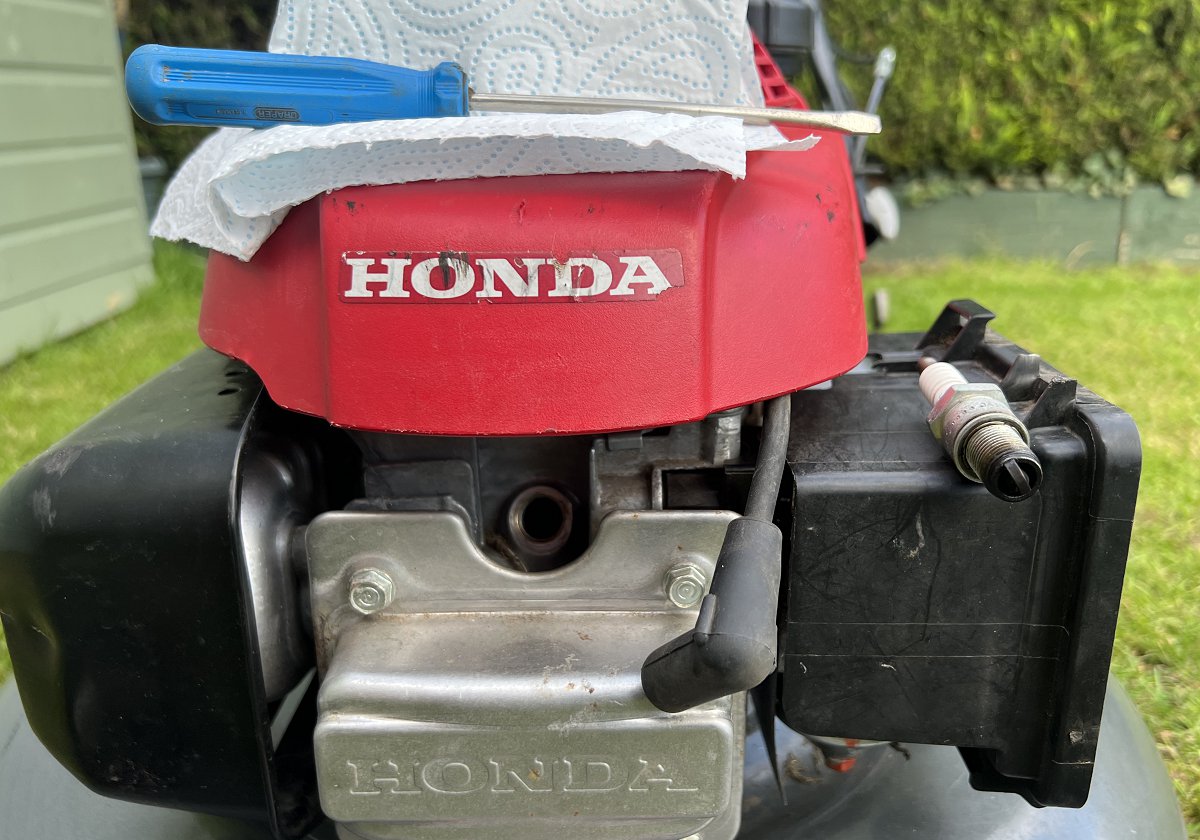
To check for hydro-locking, start by removing the spark plug and tucking it out of the way.
Then, check if there’s any lawn mower oil inside the cylinder head where you removed the spark plug. If you find oil, then you probably have a hydro-lock.
How to Tell if You Have a Vapor Lock
Vapor locking occurs when fuel vaporizes. For example, the fuel can vaporize if you’re out in the heat mowing the lawn and you have a hot engine.
Also, when you run out of gas and completely drain the fuel tank, the mower can suck in fuel vapors and lock the engine.
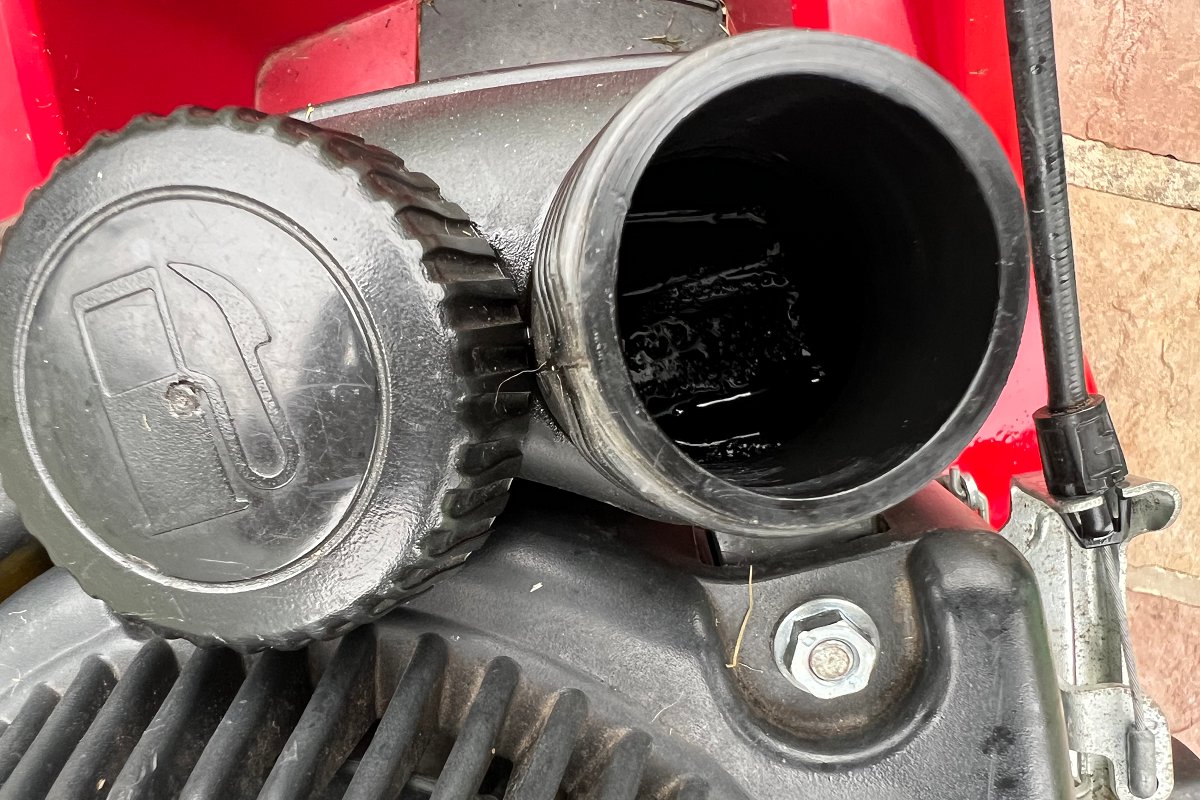
The best way to check for this is to allow the engine to cool down and check if you have gas in the tank.
Diagnosing the Recoil Starter
If you have checked for obstruction under the deck and can spin the blade by hand, it’s now time to inspect the recoil starter.
These mechanical manual starters are constructed of several parts that are not always the strongest and can fail quite easily.
Removing and Diagnosing the Recoil Starter
Start by removing the spark plug from the engine and set it to one side.
Then, take a socket wrench or screwdriver, depending on your lawnmower, and remove the fixings that hold the recoil starter in place.
This could be either directly on the engine or the cover.
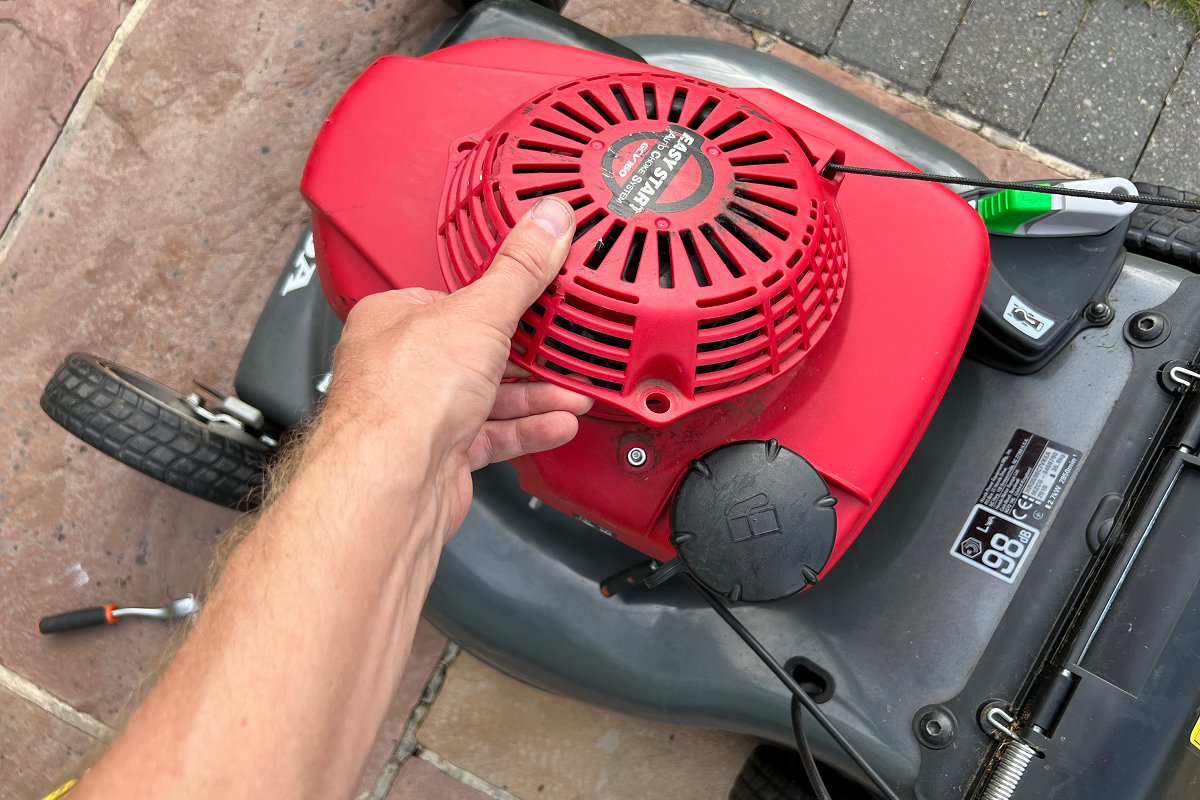
Then, remove the starter rope from the lawnmower handle if you find yours is attached.
Once this is complete, you should have the starter completely removed from the lawn mower.
With the removed starter, give it a pull and observe the mechanism. You may find that the coil spring is broken or the rope is caught up somehow.
I suggest being cautious when testing the starter, as they tend to fly apart and uncoil their spring without warning.
On the other hand, if fiddling around with the starter doesn’t help it recoil, it will need fixing or replacing.
How to Fix a Lawn Mower That Won’t Pull
Once you have diagnosed why your lawn mower string won’t pull, the final step is to carry out the repair. I have put together my step-by-step guide that will walk you through the repair and a few tips to prevent issues in the future.
By my calculations, the diagnosis should only take a few minutes to complete, so you still have plenty of time to fix your lawn mower within the hour. So let’s get started.
With any repair or inspection that includes the blades, you must always remove the spark plug connection and tuck it out of the way.
With this done, you can move on to the fix.
Removing Debris in the Deck
First, tilt your lawn mower over the correct way. Remember, the wrong way causes problems.
Depending on what you find under the deck, you should be able to just remove it by wearing a pair of gloves.
Sometimes, depending on the obstruction you find in the deck, a small pair of pruning shears can also come in handy.
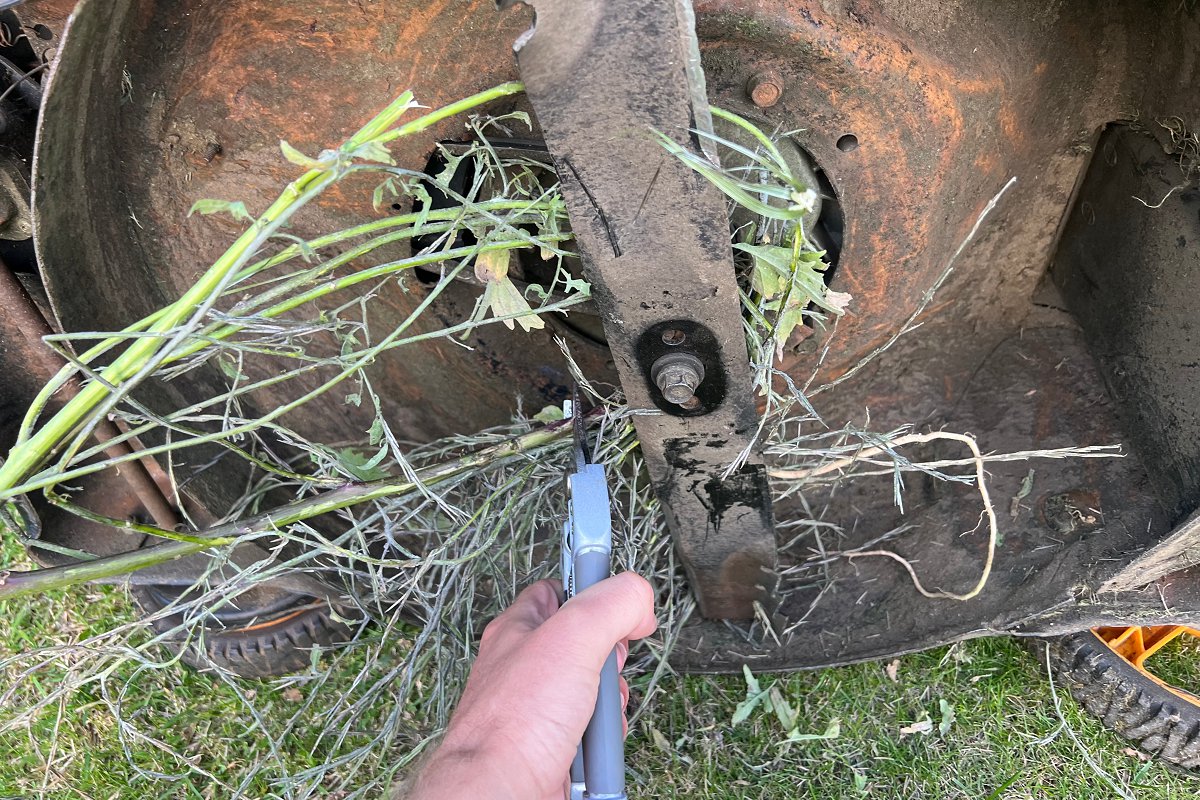
You may find that rocking the blade back and forth will help dislodge any intruders. If you happen to have something like a rope wrapped around the blade and spindle, then taking the blade off might be the quickest solution.
Start the blade removal by locking it into position so it can’t move. I like to take a 4×2 timber cutoff and wedge it against the blade. Follow this by taking a socket ratchet and removing the blade’s center bolt.
Once this is done, the blade should come away from the lawn mower. As a result, you can clear the obstruction and free the crankshaft.
Turn the lawnmower back upright and give the lawnmower rope a pull. You should find the rope will pull now as you have cleared the problem.
Next, tilt the lawn mower back over and reinstall the blade using your blade brace and sockets.
Finally, upright the mower and reconnect the spark plug, and you’re good to go.
Tools Required to Clear a Blockage
- Gloves
- Blade Brace
- Socket Wrench
Repositioning the Debris Shield
For this fix, you’ll need to tilt over the lawnmower to gain access to the bottom of the deck. Grab your gloves and see if you can use some muscle to dislodge the shield.
If it’s truly wedged, then a little more power is needed. I prefer to use a rubber mallet over a metal hammer as a hammer can make a mess of the shield.
Start by hitting either end of the shield where it’s jammed rather than the middle. I find if you bash the middle of the shield, it ends up getting bent, which creates more work.
Just repeat going from side to side until it is free. Now when you pull the starting rope, it shouldn’t be locked up.
Tools Required to Reposition the Debris Shield
- Gloves
- Rubber Mallet
Replacing a Bent Blade
We have already discussed removing and installing a blade, so the only thing to remember is that you’ll be installing a new one this time. But, before you install the new blade, check for damage.
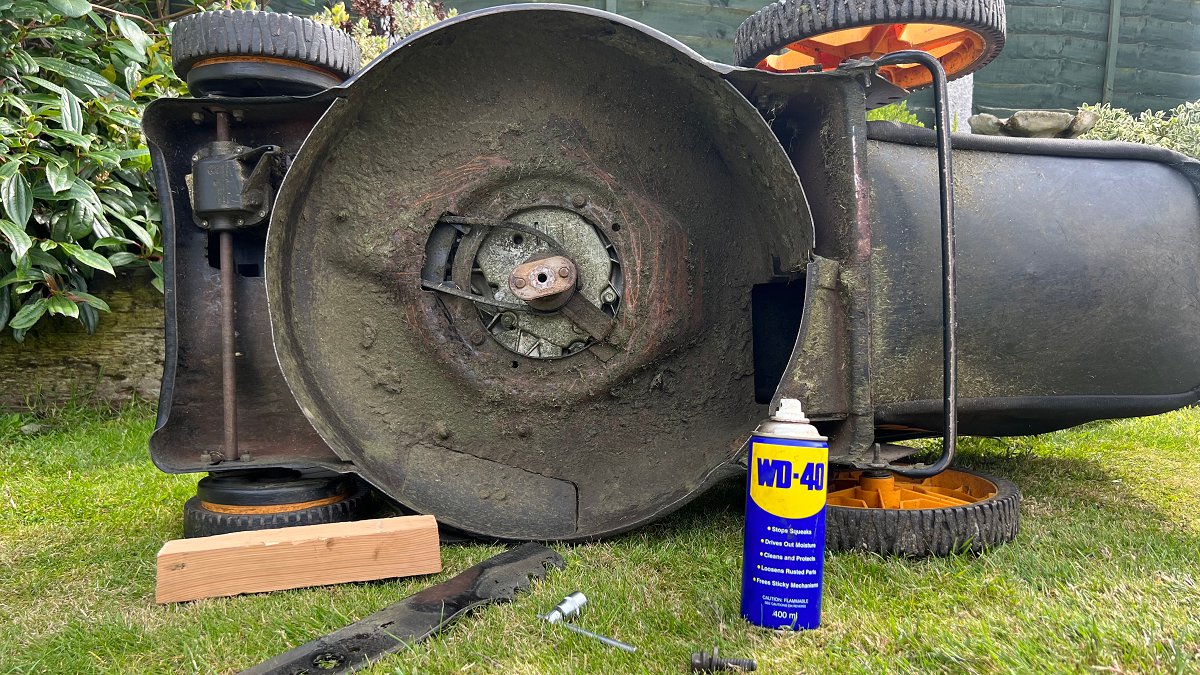
The bent blade could have caused damage to the lawn mower deck that needs repairing before you install the new blade.
Just make sure that any damage to the deck will not cause an obstruction and recreate the problem you have just fixed.
Tools & Parts Required to Replace a Blade
- Gloves
- Blade Brace
- Socket Wrench
- New Blade
Repairing a Broken Shroud
Broken shrouds can be tricky to repair unless you have metal working skills and tools. For example, many lawn mowers have shrouds under the deck that are welded on and cannot be replaced.
However, if you have a big deck on a tractor or a zero-turn, these may be bolted on and can be replaced. In this instance, we’ll tackle a shroud welded on and jamming up the blade.
Start by tilting over the lawn mower and removing the blade. With access to the broken shroud, you can evaluate what can be done. If it’s intact, you can take a mallet and try to knock it back into place.
If a piece of it is hanging off the deck, you’ll want to cut out the section. I use my hacksaw, metal cutters, and an angle grinder if needed for this job.
In the end, you want to ensure that the remainder of the shroud is securely attached and does not obstruct the blade.
With the broken shroud removed and the blade reinstalled, you should have no problem pulling the mower starter.
Tools Required to Remove a Damaged Shroud
- Gloves
- Mallet
- Metal Cutters
- Hacksaw
- Angle Grinder
Releasing a Hydro-Lock
To release a hydro-lock, start by removing the sparkplug with either a plug wrench or spark plug socket wrench. This will release the pressure in the engine’s cylinder head, and you’ll be able to pull the starter.
Next, you’ll need to remove the oil from the engine’s cylinder head. To do this, you will need to pull the starter repeatedly.
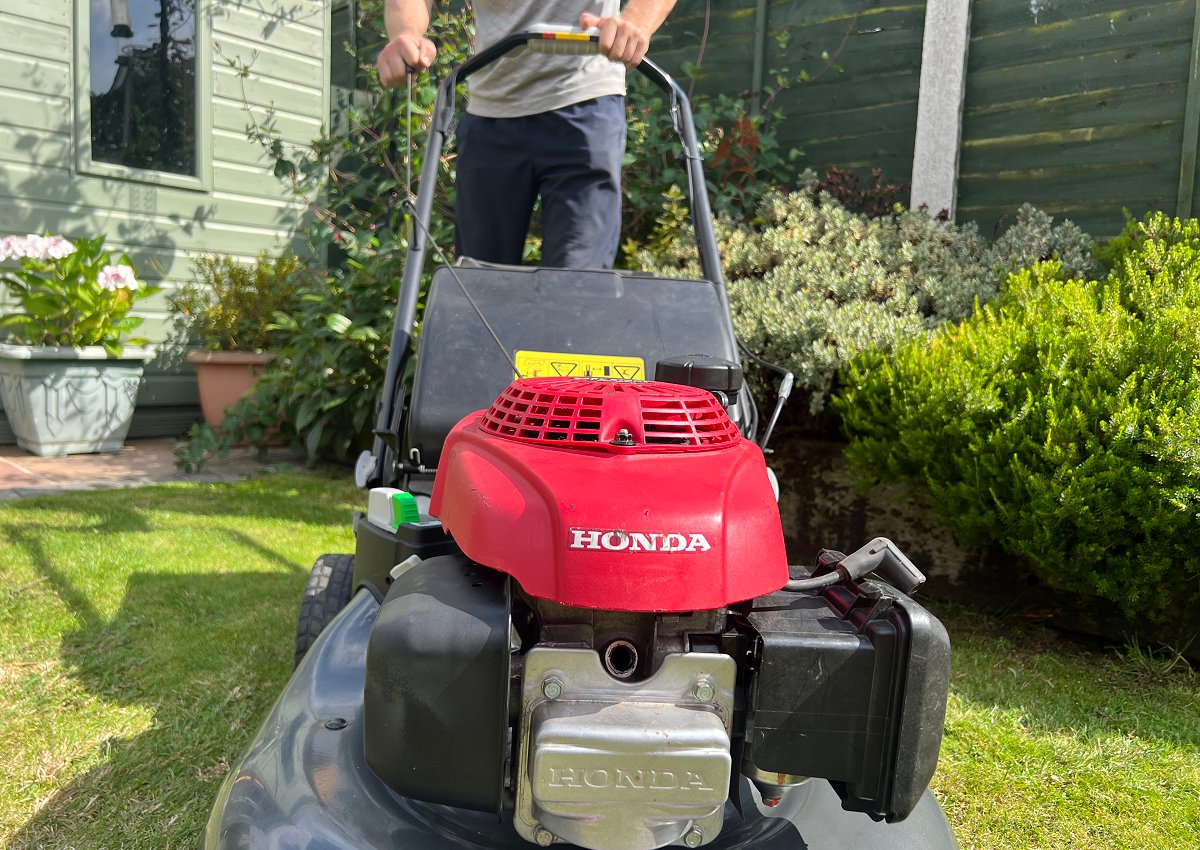
This will turn over the engine and force the oil out of the hole where the spark plug goes. Pull the starter rope until nothing is coming out of the hole.
Before pulling the rope, be aware that oil and fuel will shoot out of the hole. This is fine as long as you are in a safe environment. Be careful of where it lands and maybe place something to catch it. I wouldn’t recommend doing this out on the lawn.
Next, take an engine starter spray and spray it directly into the engine via the spark plug hole. This will help get the engine started.
Once this is done, you can re-install the spark plug and give the starter a pull. It may take a few pulls as the head will have oil residue inside.
If you have trouble starting the engine, add some more starter spay into it. Once you get the lawn mower started, allow the engine to run for a while to burn off the oil in the cylinder head.
Finally, check your oil level and add accordingly.
Tools Required to Release a Hydro-Lock
- Plug Wrench/Plug Socket
- Engine Starter Spray
- Engine Oil
Freeing a Seized Engine Due to a Lack of Oil
Start by topping up the oil by filling through the oil filler or dipstick. Then with a pair of gloves, rock the blade back and forth. The motion will slowly start to work the oil onto the piston. It will be tight at first, but gradually, it will loosen.
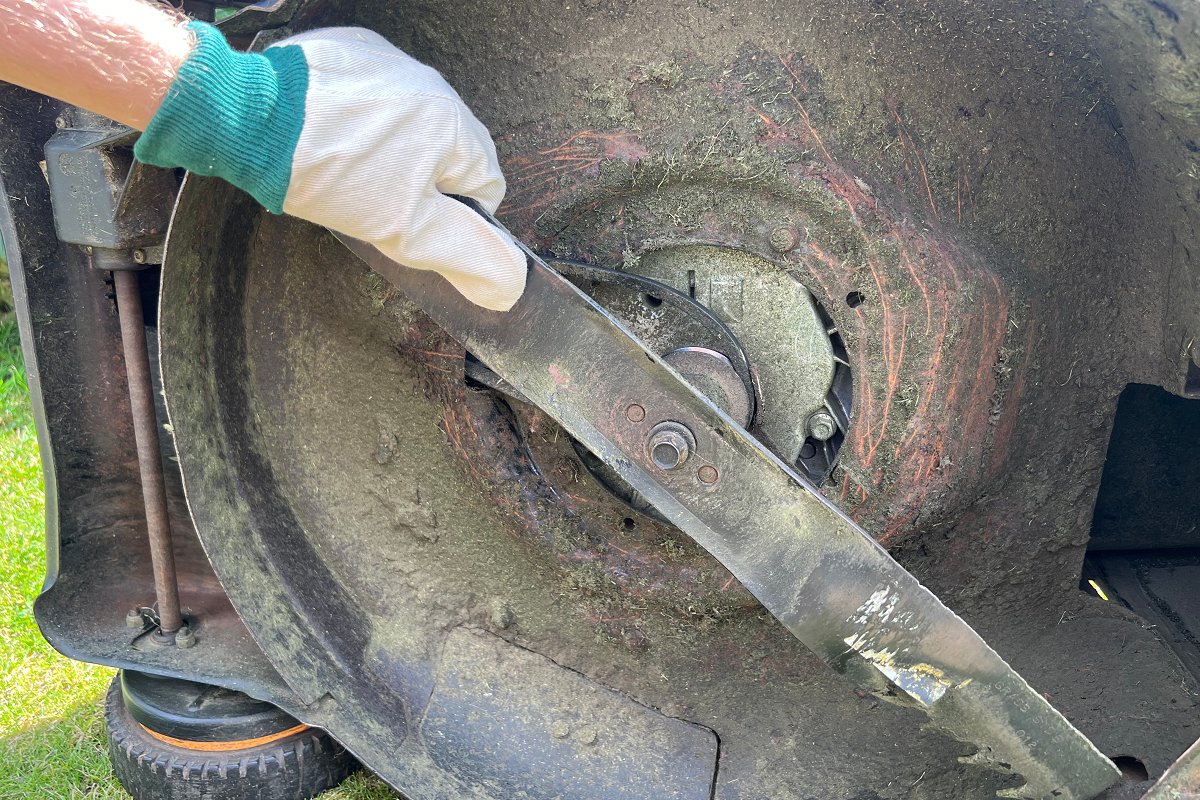
If you are having trouble, you can remove the spark plug and spray a lubricant into the cylinder head. Let this sit for a while, then try rocking the blade again.
Once you get the engine free, you need to spray an engine starter into the cylinder head and install the spark plug. In my experience, a lawnmower that has sat for a while with low oil can be freed up using this method.
If you find that the piston is not loosening despite your best efforts, the piston may be broken due to the lawn mower overheating.
Tools Required to Free a Seized Engine
- Plug Wrench/Plug Socket
- Engine Starter Spray
- Engine Oil
Releasing a Vapor Lock
You need to let the fuel cool down to release a fuel vapor lock. You may be surprised that fuel can boil in the fuel system and turn to vapor. When there is little to no fuel left in the tank, the small fuel volume can heat up very quickly.
To release the lock, the engine needs to cool down to let the fuel turn back into liquid form. Place the lawn mower in the shade and allow the engine to cool. If you have a leaf blower, you can give the mower a blast to help the process.
Once the mower has cooled down, you can fill the fuel tank and restart the lawn mower. But, depending on your climate, your mower may heat up quickly and vapor lock again.
So what can you do? Well, if you use a fuel stabilizer, you’ll increase the boiling point of the fuel. This means you might get an extra few degrees of tolerance and be able to cut for longer.
Alternatively, try cutting the lawn at a cooler part of the day or splitting your mowing into sections. For example, cut half the lawn and then take an hour’s break. Then, once the lawn mower has cooled down, you can complete the other half of the lawn.
Recommended Approach
- Use a Fuel Stabilizer
- Cut at the Cooler Part of the Day
- Keep a Full Fuel Tank
- Split the Mowing Into Sections
Replacing a Recoil Starter
Depending on how good you are with your hands, you may want to replace the recoil starter.
If you have ever changed a rope in a starter, you’ll appreciate how frustrating it can be, especially if the spring pops out. It wouldn’t be the first time a recoil starter has been thrown at a wall.
Now, a broken starter shouldn’t be confused with a snapped rope. A snapped rope isn’t going to stop the starter from turning. There just isn’t a working rope.
So, remove the starter from the lawn mower by directly removing it from the engine or the mower engine housing. Also, remove any attachment to the mower handle if there is one.
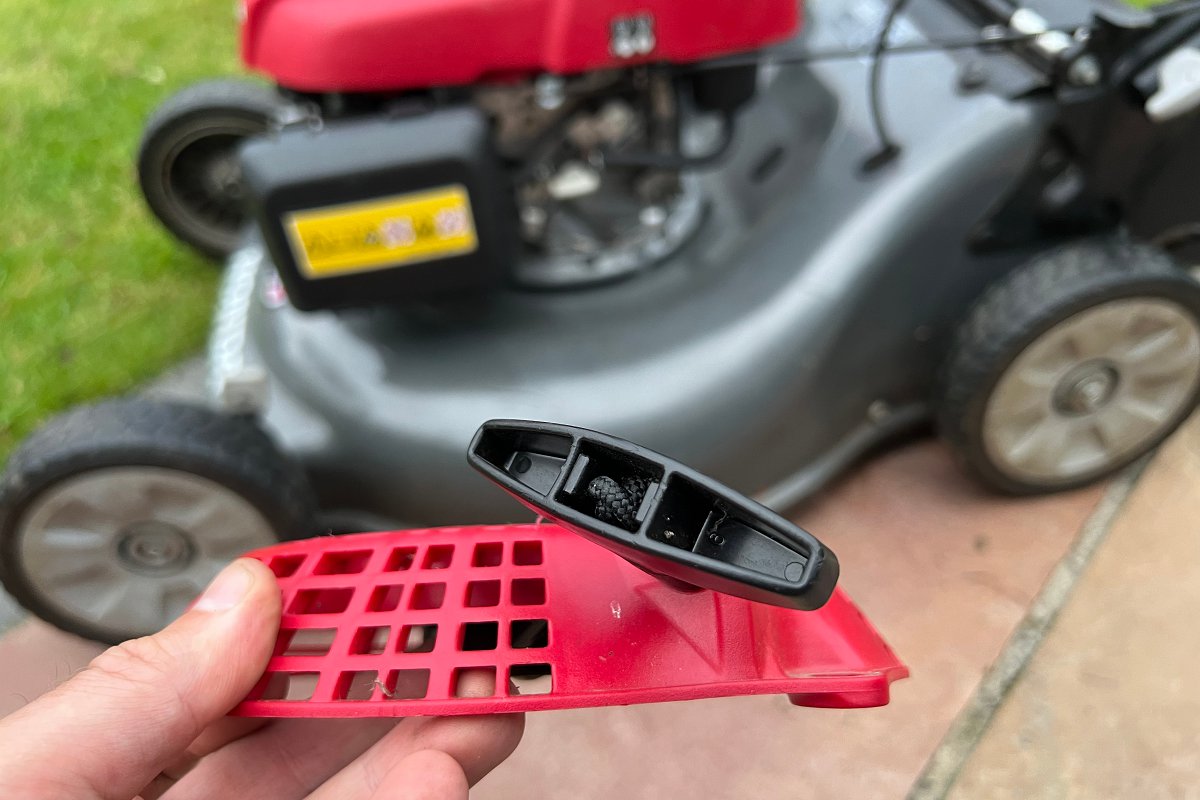
If you find a twist or knot in the rope preventing the rope from passing through the eyelet of the starter housing, you have found your issue. By untying or untwisting the rope, you should be able to have it extending and retracting correctly.
Additionally, you could find a rock or some other obstruction in the mechanism that simply needs removing. If this is the case, you can go ahead and reinstall the starter.
Unfortunately, if anything is cracked or snapped, you’ll need to replace the starter with a new unit. Exposure to fuel and oil tend to cause the rope to become brittle over time and break.
Tools & Parts to Replace a Recoil Starter
- Socket Wrench or Screwdriver
- Replacement Recoil Starter


I inadvertently ran over newspaper that was covered by a bunch of leaves. It appears the lawn mower jammed and shut down immediately. Now the pull starter only moves a few inches. What to do now?
Hi Allen,
I would start by removing the spark plug and then tilt over your lawn mower. Then try giving the blade a turn by hand.
You might find that you still have paper jamming up the engine, or you have a bent driveshaft. But, usually, what happens when a lawn mower is stopped suddenly under the force of operation is that either the flywheel key breaks or possibly the push rods become damaged. So, when you try to pull the starter cord, the compression in the engine can’t be released.
So, you’ll want to check the flywheel key first, then take a look at the push rods and valve setup.
I hope this gives you a few ideas.
Tom.