If you have a riding lawn mower, it is equipped with a 12-volt battery. This battery is used to supply power to the mower’s ignition and electrical system. Having a non-functioning battery for your mower is sure to stop your lawn care in its tracks. If you’re trying to figure out how to restore a lawn mower battery, it helps to have a basic understanding of what batteries are.
In basic terms, batteries are devices that take chemical energy and translate it into electricity. They are made up of cells and these cells are where the energy is created/contained. Every cell contains two metal plates (made from different materials) submerged in diluted acid. Each cell has a chemical reaction occuring that can produce about 2 volts of electricity. Meaning, your 12-volt battery has 6 cells in it.
So, How to Restore a Lawn Mower Battery?
To restore a lawn mower battery you can follow these steps:
- Disconnect and remove the battery from your lawn mower
- Take off the caps on your battery
- Drain and clean the battery
- Make a solution with magnesium sulfate (epsom salt) and distilled water
- Add the solution (electrolyte) to the battery cells
- Charge and begin the battery cycle
Why Your Lawn Mower Battery Won’t Hold Charge
All batteries wear out over time. Lead-acid 12-volt batteries, like the ones in riding lawn mowers, are no exception. Some of the reasons why your lawn mower battery drains and won’t hold a charge are preventable but some simply occur after a certain amount of time. Let’s take a look at why these batteries degrade.
Aged Battery
Though most 12-volt batteries are capable of lasting upwards of 5 years (read more here on how long lawn mower batteries last), over time the components inside your battery will wear out. This results in the battery cells not being able to provide sufficient chemical energy to produce the amount of electricity needed.
The plates in each cell can become deformed, and the acid levels can decrease over time. When this happens, your battery cannot hold a charge for as long as it should.
Natural Sulfate Buildup
When lead-acid batteries lose charge, a process called sulfation occurs where the sulfates in the acid solution cling to the plates in your battery’s cells. When the battery is recharged, the sulfate goes back into the solution but not completely. Part of the sulfate will crystalize and remain attached to the plates.
This means that over time, less and less sulfate will be able to be used for the battery’s chemical reactions. It is an inevitable process but can be accelerated by:
- Improper storage of batteries (extreme temperatures)
- Letting batteries sit without being fully charged
- Overcharging
Still, not all hope is lost! Reconditioning your battery properly can clean out most sulfate buildup and increase your battery’s capacity.
Excessive Corrosion
When corrosion buildup occurs on a battery it can sometimes be the reason why the battery won’t hold a charge. Corrosion is the bluish gunk that you may encounter at the base of the battery terminals or around the edges of the cell caps. When too much of it builds up, it acts as a barrier and prevents the battery from receiving a full charge.
Sometimes corrosion signals that a battery is aging, but it can also be the result of poor battery maintenance. Cleaning off the corrosion on your lawn mower’s battery is good practice and can help lengthen your battery’s life.
Low Fluids
The fluid in batteries is a diluted acid. Over time the fluid levels in the acid solution can decrease (releasing hydrogen and oxygen creating corrosion). This causes the battery to lose its ability to charge fully.
It can also cause the acid to become more concentrated and the tops of the battery’s plates get exposed to oxygen in the air and can oxidize permanently. This damage is irreversible and will reduce the ability of the battery to hold a charge.
Though this happens over time, it is also accelerated by the lack of proper care. Overcharging your battery and improper storage can cause this to happen more rapidly than normal. Part of the process of restoring lawn mower batteries involves replenishing or replacing the diluted battery acid. This helps prevent permanent damage and strengthens your battery.
Human Error
Sometimes it’s as simple as a bit of human error getting mixed up with all the battery science. Whether it comes from using the wrong type of battery charger, lack of battery use, or improper storage, there are many ways that misuse can hinder your battery’s ability to hold a charge. The upside of this is that there are measures you can take to prolong your battery’s life!
Difference Between a Battery that Needs to be Restored/Reconditioned and a Dead Battery
The best rule of thumb to follow when wondering if your battery is dead or if it just needs to be restored/reconditioned is considering its age and checking for damage. A 12 Volt battery lasts about 5 years and if you’re having trouble with your battery after that amount of time, you are probably best off replacing it. Batteries age over time and the components wear out.
The next thing to check for is physical damage such as: Burnt wire, dents or swelling, and melting casing. If you see any of these your best bet is a new battery.
However, if your battery is newer and appears to be in good shape, it may be healthy and just in need of some restoration. Charge the battery and perform a multimeter test (for voltage) and a load test (for amperage) to see if it still has the necessary capacity. If the multimeter test reads below 12 volts or if the load test reads below 150 amps after charging, reconditioning probably won’t work and you should replace the battery.
Step By Step Guide to Restoring a Lawn Mower Battery
This process is relatively simple but it’s extremely important to be careful when handling batteries. I’ll list the equipment you’ll need first, and then talk in more detail about the steps to restore your battery.
What You Need
- Safety equipment (gloves, protective eyewear, long sleeves)
- Your lawn mower’s battery
- Battery charger
- Magnesium sulfate (epsom salt)
- Baking soda
- Distilled water
- Funnel
Instructions
1) Disconnect and remove the battery from your lawn mower
Make sure the ignition is turned off and the key is removed. Then, disconnect the negative lead on the battery first followed by the positive lead, and remove the battery (reverse this operation to reinstall the battery).
2) Take off the caps on your battery
Your battery will have caps covering its cells that you need to remove. These caps can be found on the top of the battery. If they are stuck you can use a small flathead screwdriver to pry them off.
3) Drain and clean the battery
Start by checking for corrosion on the battery terminals. If you see this bluish buildup, you’ll need corrosion cleaner or some sandpaper to clean it off. Next, you will want to drain all of the existing fluid from the battery. Use a plastic bin and carefully invert the battery into it so that all the fluid drains.
Now, get about 10 ounces of baking soda and mix it in with a gallon of distilled water. This solution will be used to clean out the inside of the battery by breaking down any sulfate buildup. After you have it mixed, use the funnel to fill the cells with the solution leaving a little bit of room at the top. Put the caps back on and shake the battery around for 30 seconds or so before removing the caps and draining the battery completely again.
4) Make a solution with magnesium sulfate (epsom salt) and distilled water
Mix about 15 ounces of magnesium sulfate (epsom salt) in with a gallon of distilled water. Warming the water before mixing will help it dissolve. This is the new electrolyte solution for the battery.
5) Add the solution (electrolyte) to the battery cells
Use the funnel to fill each of the battery’s cells with the new electrolyte solution. You should notice a fill line for each cell on the battery. Make sure to get the fluid level as close to exactly at the level as possible.
6) Charge and begin the battery cycle
Attach your battery charger on its slowest charging setting and allow the battery to completely charge. Using 2 amps for 24 hours is recommended. Make sure to leave the cell caps off or very loosely on to allow for potential overflow when the solution heats up during charging. Once the charging is completed, secure the caps and your battery is reconditioned and ready to be reinstalled into your lawn mower!
Bottom Line
Reconditioning your lawn mower’s battery is a great way to save money and avoid wasting a solid part. With the right equipment and a bit of time, it isn’t an overly challenging job and can extend the life of your battery for years. Maintaining your battery properly can help prevent the need for this, but if you find yourself with an underperforming battery give restoring it a shot.

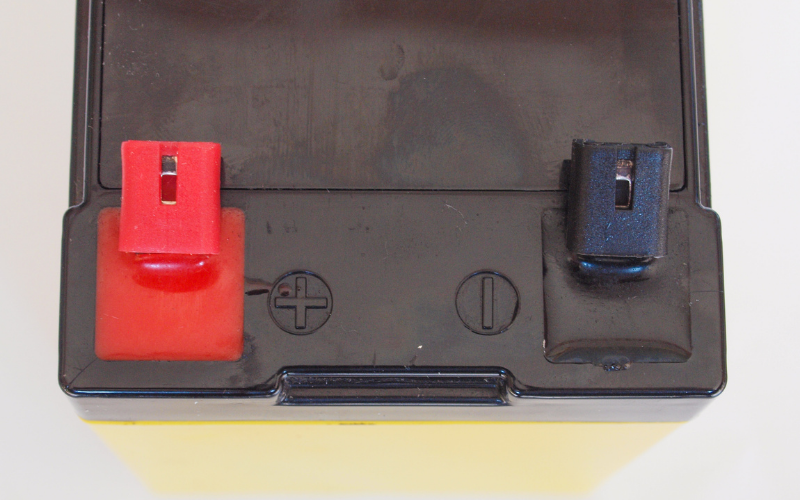
My battery doesn’t have caps but a square spot on top. I guess Simi sealed. That had to put it together. If I work around it, I think it will come out. Can I do that??
Hi Bridget,
If you’re in North America, the best answer is to remove the battery can and take it down to your local automotive supply store, like AutoZone or Napa. These guys will tell you what kind of battery you have and will also usually test it for free.
Usually, a semi-sealed mower battery is maintenance-free, so when it’s dead, it’s dead. It can be very dangerous to tamper with batteries, so getting professional help is the best option.
Cheers, Tom.