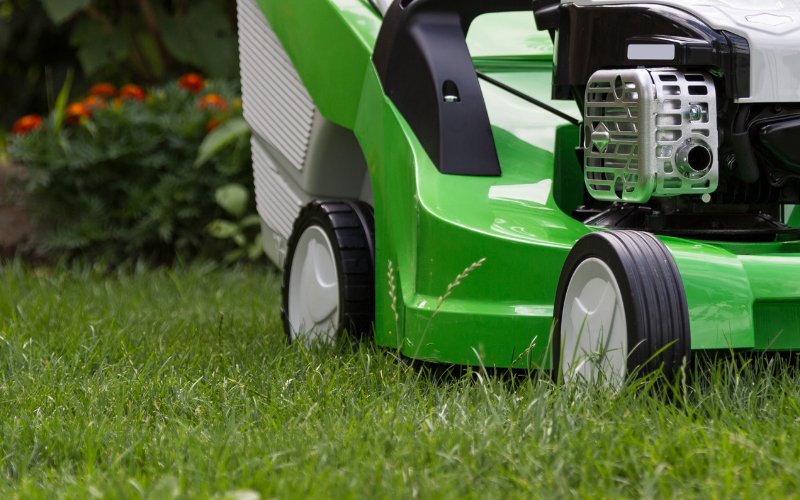
A wobbly wheel on your lawn mower will not only cause a few issues but can also make cutting the lawn difficult. But don’t worry, with very little effort, a couple of simple tools, and a part or two, you can have your wheels working perfectly again. So, instead of continuing to struggle with the wobbly lawn mower wheel, why not just go ahead and fix it?

Symptoms of a Wobbly Lawn Mower Wheel
Usually, the wheels of a walk-behind lawn mower are held on with a shoulder bolt and a bushing. With constant wear, it is common for these parts to become worn and eventually cause the wheel to wobble. Here are a few symptoms that may help you to recognize a wobbly lawn mower wheel.
- Uneven Cut
- Difficult to Push the Lawn Mower
- Banging Sound From the Wheel
- Vibration from the Wheel Mount
How to Fix Wobbly Lawn Mower Wheels
If you have noticed one of these symptoms, you will first want to remove the wheel completely and diagnose the extent of the damage. Here are the tools you’ll need to remove the wheel from your lawn mower in order to complete the repair.
Tools Required to Remove the Wheel
- Wrench Set
- Socket Wrench Set
- Screwdriver
- Hammer
- Replacement Wheel Kit
- Spray Lubricant/Grease
Removing the Wheel
Start by using your socket wrench to remove the nut holding on the wheel. Then, remove the wheel. There could be a decorative cover over the nut, so you may need a screwdriver to pop it off first.
Inspect the Bushing & Bolt
The bushing is the metal tube that sits in the center of the wheel that the shoulder bolt or the axel passes through. Over time, both the bushing and bolt can wear down and allow for additional movement. If the bushing and bolt on your lawn mower are worn, then you will need to replace them both. In this scenario, you don’t need to replace the wheel.
Removing the Bushing
If you want to save the wheel and a few bucks, then you’ll need to remove the bushing from the wheel. If you take a closer look at the wheel, you’ll see that the bushing slots into the wheel from one side. This is the side where it will need to be removed.
So, use a flathead screwdriver to knock out the bushing from the opposite side. If you pass the screwdriver through the opposite side of the wheel, you should be able to catch the lip of the bushing. It should come out with a little tap on the screwdriver with a hammer.
When there is No Bushing
Not all lawn mowers have a bushing on their wheels. Some simply have shoulder bolts pass through the wheel. Unfortunately, these designs allow the bolt to wear down the plastic to such a degree that you will have to replace the wheel with a new one.
So, if you have stripped down your wheel assembly and found no bushing and a worn-down wheel, you’ll have to change out the wheel completely. And be careful if you go wheel shopping – many people don’t question whether lawn mower wheels are universal or not, buy any old wheel assembly set, and then find out they needed something specific to their mower when they get home. Read your user manual before you head to the store!
Remove the Shoulder Bolt
If you do find a bushing, then you’ll also need to inspect the shoulder bolt. The bolts are not always made of the same strength steel, so they don’t always wear down at the same rate as the bushing.
But, when you purchase the repair kit, you’ll usually find that the bolt and bushing come as a pair, along with a few washers. To remove the shoulder bolt, simply slide it out of its mounting position by hand.
Installing the New Bushing
To install the new bushing, you will want to lay the wheel down on a flat surface, such as a workbench. Take your new bushing and slide it into the wheel’s center hub. You will find that the bushing can only go in one way. If you try to put the bushing into the wrong side of the wheel, it won’t fit because it will be too big.
So, find the correct side and slide the bushing into the wheel’s center hub until it can go no further. A light tap with a hammer should help if it’s a little tight.
Reattach the Wheel
Next, take your new shoulder bolt, slide it through its mount on the lawn mower, and then slide the wheel on. Now, if you wanted to, you could add a little grease to the inside of the bushing first to reduce the friction and have the wheel mechanism last a little longer.
But, keep in mind that because the mechanism isn’t designed to hold grease, whatever you put in it will end up coming out pretty quickly. So, it is also a good idea to use a spray lubricant on it after every few cuts.
Bolt On the Wheel
The final step is to bolt on the wheel. Take any washers that came in your kit and place them on the bolt, then install the nut. Using your socket wrench, tighten up the nut so that it’s nice and tight but not too tight that it restricts the wheel.
Once you have completed this, reinstall any decorative cover and give the wheel a test. Your mower’s wheel should now be working in perfect condition.


Leave a Reply